Have you ever thought about how to make your iPad Pro work its absolute best for you? You see, the iPad Pro is a really strong gadget. It can do a lot of the things you usually do on a regular laptop or desktop computer. But are you using it to its full potential? If you want to boost your productivity and get more done with your iPad Pro, you need to know some tips and tricks that will help you unlock its hidden features and functions.
Mastering iPad Pro for Maximum Productivity
In this article, we will show you 10 ways to supercharge your iPad Pro productivity. You will learn how to use Siri as your personal assistant, download an office suite, integrate cloud storage, video conference with FaceTime or Zoom, scan documents with the camera or Scanner Pro, buy an AirPrint printer, use the right apps for your work, use keyboard shortcuts, use drag and drop, and use widgets. By following these tips, you will be able to work faster, smarter, and better with your iPad Pro.
1. Use Siri as Your Personal Assistant
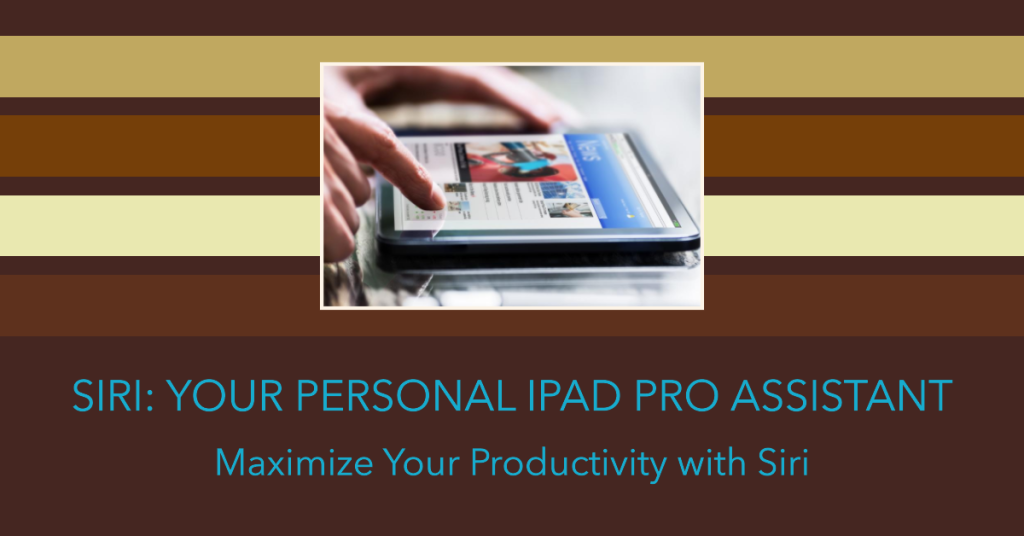
Siri is not just a voice assistant that can answer your questions and play music. Siri can also help you with your work by setting reminders, scheduling events, taking notes, and dictating text. You can use Siri to keep track of your tasks, appointments, and projects without typing or tapping on the screen. To use Siri, just press and hold the top button on your iPad Pro or say “Hey Siri” . Just make sure you have enabled the feature in Settings > Siri & Search. Then, speak your command or request. For example, you can say:
- “Remind me to finish the report by 5 p.m.”
- “Schedule a meeting with John tomorrow at 10 a.m.”
- “Take a note that the client’s budget is $50,000”
- “Send an email to Lisa saying that I’m running late”
Siri will confirm your action and perform it for you. You can also use Siri to open apps, search the internet, control any of your smart home devices, and more. Just ask Siri what it can do and explore the possibilities.
2. Download an Office Suite

One of the most common uses of the iPad Pro is to create and edit documents, spreadsheets, and presentations. To do this, you need an office suite that is compatible with your iPad Pro and supports the file formats that you need. There are several options available to download on the App Store, but the popular ones are:
- Apple iWork: This is the native office suite for iOS devices, which includes Pages, Numbers, and Keynote. These apps are free to download and offer a simple and elegant interface for creating beautiful documents, spreadsheets, and presentations. They also integrate well with iCloud, Apple Pencil, and other Apple features.
- Microsoft Office: This is the most widely used office suite in the world, which includes Word, Excel, and PowerPoint. These apps are free to download but require a subscription to Microsoft 365 to use all the features and functions. They offer a familiar and powerful interface for creating professional documents, spreadsheets, and presentations. They also sync well with OneDrive, Outlook, and other Microsoft services.
- Google Workspace: This is the cloud-based office suite from Google, which includes Docs, Sheets, and Slides. These apps are free to use and offer a simple and collaborative interface for creating online documents, spreadsheets, and presentations. They also work well with Google Drive, Gmail, and other Google products.
You can choose the office suite that suits your needs and preferences best. You can also use more than one office suite if you need to work with different file formats or collaborate with different people.
3.Integrate Cloud Storage
Another way to boost your productivity with your iPad Pro is to use cloud storage services to save and access any file from anywhere. Cloud storage allows you to save your files online and sync them across your devices. This way, you don’t have to worry about losing your files or running out of space on your iPad Pro. You can also share your files with others easily and securely. Some of the popular cloud storage optionsa are:
- iCloud: This is the native cloud storage service for iOS devices, which offers 5 GB of free storage space and integrates well with Apple iWork, Photos, Mail, Contacts, Calendar, and other Apple apps. You can get an upgraded storage plan up to 2 TB for a monthly fee.
- OneDrive: This is the cloud storage service from Microsoft, which offers 5 GB of free storage space and syncs well with Microsoft Office, Outlook, OneNote, and other Microsoft apps. You can also get 1 TB of storage space plus Microsoft 365 apps for a monthly fee.
- Google Drive: This is the cloud storage service from Google, which offers 15 GB of free storage space and works well with Google Workspace, Gmail, Google Photos, Google Keep, and other Google apps. You can also upgrade your storage plan up to 2 TB for a monthly fee.
You can select the cloud storage service that suits your needs and preferences best. You can also use more than one cloud storage service if you need more space or want to backup your files.
4. Video Conference with FaceTime or Zoom

The iPad Pro comes with a fantastic camera system that lets you capture beautiful photos and videos. But did you know that you can also use it to video conference with your colleagues or clients? Video conferencing is like having a virtual meeting with people from different places. You can see their faces on the screen, hear what they’re saying, and even show them things on your screen or share your documents. It’s a handy way to talk and work together when you’re not in the same location.. There are several apps that you can use to video conference on your iPad Pro, but some of the most popular ones are:
- FaceTime: This is the native video calling app for iOS devices, which allows you to make free and secure video calls with up to 32 people at the same time. You can also use effects, stickers, and Animoji to make your calls more fun and expressive. To use FaceTime, you need an Apple ID and a Wi-Fi or cellular connection.
- Zoom: This app is well-liked for video meetings. You can use it to either lead or join online gatherings, and it won’t cost you a thing. You can have as many as 100 people in one meeting. You can also use features like chat, polls, breakout rooms, and whiteboard to make your meetings more interactive and productive. To use Zoom, you need a Zoom account and a Wi-Fi or cellular connection.
You can choose the video conferencing app that suits your needs and preferences best. You can also use a stand or a tripod to position your iPad Pro at a comfortable angle and height for your video calls.
5. Scan Documents with the Camera or Scanner Pro
The iPad Pro can also help you scan documents without using a scanner. Scanning documents is useful when you need to digitize paper documents, such as receipts, invoices, contracts, or notes. You can then save, share, or edit your scanned documents on your iPad Pro or other devices. There are two ways to scan documents with your iPad Pro:
Using the built-in Camera app
You can use the Camera app that comes with your iPad Pro to take pictures of your documents and save them as PDF files. Here’s how.
- Open the Camera App: First, open the Camera app on your iPad Pro.
- Position the Document: Make sure your document is well-lit and in focus. Hold your iPad Pro over the document so that it fits nicely in the camera view.
- Take a Photo: Tap the shutter button (it looks like a circle) to take a picture. Repeat this step for each page of your document if there are multiple pages.
- Open the Photos App: After you’ve taken all the photos you need, open the Photos app on your iPad.
- Select the Photos: Find and select the photos of your document in the Photos app. You can do this by tapping on each photo.
- Share the Photos: Once you’ve selected all the photos, tap the Share button. It’s usually represented by a box with an arrow pointing up.
- Save to Files: In the sharing options, look for “Save to Files” and tap it.
- Choose a Location: You’ll be asked to choose the location to save your PDF file. Pick a location that makes sense to you, like iCloud Drive or On My iPad.
- Tap Save: Finally, tap the “Save” button to create your PDF file with the selected photos.
Using Scanner Pro
You can also use a third-party app like Scanner Pro to scan your documents with more features and functions. Scanner Pro is a paid app that allows you to scan multiple pages of documents with automatic edge detection, perspective correction, color enhancement, OCR (optical character recognition), and cloud integration. To use Scanner Pro, open the app and tap the Plus button to start scanning. Point your iPad Pro at your document and wait for the app to capture it automatically. You can also adjust the crop, color, and rotation of your scan if needed. Repeat this for each page of your document. Then, tap Save to save your PDF file. You can also share, print, or edit your scanned document from within the app.
You get to pick the way that works best for you and matches what you like. You can also use a document holder or a stand to position your document at a flat and stable surface for better scanning results.
6. Buy an AirPrint Printer

If you need to print documents from your iPad Pro, you don’t need to transfer them to a computer or use a cable. You can print wirelessly from your iPad Pro using an AirPrint printer. AirPrint is a cool feature that lets you print stuff from your iPhone or iPad without needing to mess with any special software or drivers. It’s like magic for your printer! You just need an AirPrint-compatible printer and a Wi-Fi connection.
To print from your iPad Pro using AirPrint, open the app that contains the document that you want to print. Tap the Share button and choose Print. Select an AirPrint printer from the list and adjust the print options if needed. Then, tap Print.
You can find a list of AirPrint-compatible printers on Apple’s website . You can also buy an AirPrint printer from Amazon or other online retailers.
7. Use the Right Apps for Your Work
The iPad Pro has a treasure trove of apps available in the App Store. These apps are like little helpers that can assist you with your tasks and projects. Whether you need to write, draw, code, design, edit, or manage your projects, there is an app for that. Here are some examples of apps that you can use for different types of work:
- Writing: If you need to write articles, blogs, books, or scripts on your iPad Pro, you can use apps like Ulysses , Scrivener , iA Writer , or Final Draft . These apps offer features like markdown support, distraction-free mode, word count, export options, and more.
- Drawing: If you need to draw sketches, illustrations, comics, or animations on your iPad Pro, you can use apps like Procreate , Adobe Fresco , Clip Studio Paint , or Animation Desk . These apps offer features like layers, brushes, colors, effects, and more.
- Coding: If you need to code websites, apps, games, or scripts on your iPad Pro, you can use apps like Codea , Pythonista , Play.js , or Scriptable . These apps offer features like syntax highlighting, code completion, debugging tools
8. Keyboard shortcuts
When you connect a keyboard to your iPad, it becomes a super tool for quick actions. You can do things like switching between apps, finding stuff with Spotlight, snapping screenshots, and many more time-saving tricks. To see a list of available shortcuts in any app, press and hold the Command key on your keyboard. You can also customize some keyboard shortcuts in Settings > General > Keyboard > Hardware Keyboard.
9. Drag and drop
You can use drag and drop to move text, images, files, and other items between apps on your iPad. To do this, touch and hold an item until it lifts up, then drag it to another app on the Dock, the Home Screen, or the App Switcher. You can also drag multiple items by tapping them with another finger while holding the first item. You can also use drag and drop within the same app to rearrange items or copy them.
10. Widgets
Widgets are small versions of your favorite apps that show you relevant information at a glance. You have the power to put useful widgets on your Home Screen or in the Today View. To get to the Today View, just swipe right from your first Home Screen or even when your iPad is locked. If you want to add a widget to your Home Screen, follow these steps: Press and hold on any empty space on your Home Screen until the apps start to wiggle. It’s like they’re dancing! Look for a little + button at the top-left corner of the screen. It’s your ticket to adding widgets. You can then browse and select the widgets you want to add. You can also edit or remove widgets by touching and holding them.
