Poor Network Connectivity Affecting MMS Sending and Receiving on Samsung Galaxy
Are you frustrated by the difficulties of sending or receiving MMS messages on your Samsung Galaxy device due to poor network connectivity? Don’t worry, help is at hand! In this article, we will guide you through a step-by-step troubleshooting process to resolve the issue and ensure smooth MMS functionality on your device.
Follow our troubleshooting guide to resolve the issue. Learn how to check signal strength, enable mobile data, verify APN settings, clear app cache, and more. Say goodbye to MMS frustrations and enjoy seamless multimedia messaging on your device.
Discover easy-to-follow steps to troubleshoot and fix the problem, empowering you to send and receive multimedia messages effortlessly. Say farewell to the frustration of interrupted MMS communication and embark on a seamless messaging experience with your Samsung Galaxy device.
Step 1: Check your signal strength
Ensure that you have a strong network signal in your current location. Low signal strength can cause problems with MMS functionality. Move to an area with better signal reception, if possible.
To check the signal strength on your Samsung Galaxy device, follow these steps:
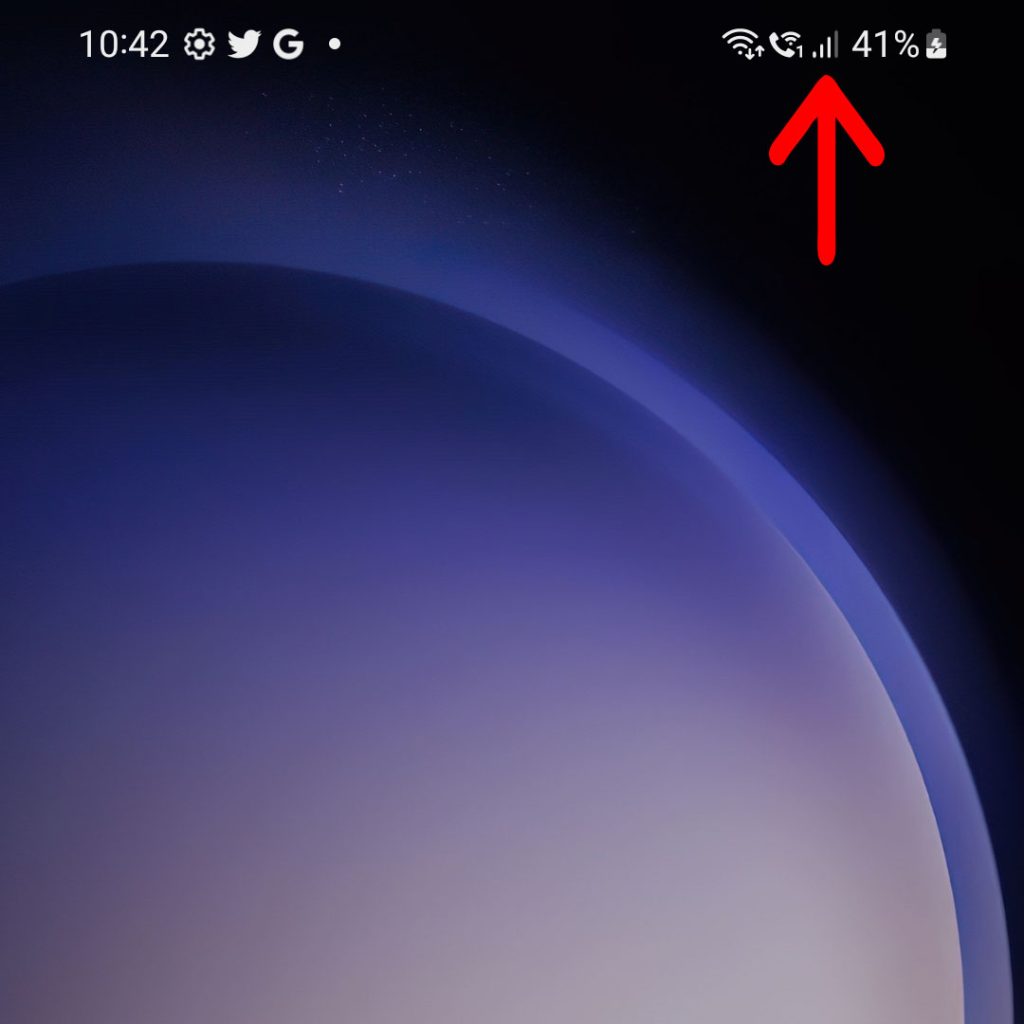
- Look at the top-right corner of your device’s screen, where you’ll find the signal bars or signal icon.
- The signal bars indicate the strength of your network connection. The more bars you have, the stronger the signal.
- If you see all bars filled or a strong signal icon (such as LTE, 4G, or 3G), it means you have a good network signal.
- However, if you have only one or two bars or a weak signal icon, it indicates a weak network signal.
- In areas with weak signal strength, you may experience difficulties with MMS sending and receiving due to poor network connectivity.
- To improve signal strength, you can try moving to a different location, preferably one with better network coverage or closer to a window if you’re indoors.
- Remember that factors like buildings, obstacles, or being in a rural area can affect signal strength.
By ensuring a strong network signal, you’ll enhance the chances of seamless MMS functionality on your Samsung Galaxy device.
Step 2: Enable mobile data
MMS messages require a mobile data connection to be sent and received. Make sure that mobile data is enabled on your device.
To enable mobile data on your Samsung Galaxy device, follow these steps:
- Unlock your device and swipe down from the top of the screen to access the notification panel.
- Look for the “Mobile data” or “Data” icon and tap on it. This will enable mobile data.
- If you don’t see the icon in the notification panel, you can access it through the settings menu.
- Go to “Settings” by tapping on the gear-shaped icon in the app drawer or by swiping up from the home screen and selecting the settings gear icon.
- In the settings menu, scroll down and tap on “Connections.”
- Look for and tap on “Data usage” or “Mobile networks.”
- Toggle the switch next to “Mobile data” to turn it on. The switch should turn green or display “On.”
- You have now successfully enabled mobile data on your Samsung Galaxy device.
- Ensure that you have an active mobile data plan with your network carrier to avoid any additional charges.
- With mobile data enabled, you’ll be able to send and receive MMS messages smoothly on your device.
Step 3: Verify APN settings
APN (Access Point Name) settings are responsible for establishing a data connection with your carrier. Incorrect or outdated APN settings can affect MMS functionality.
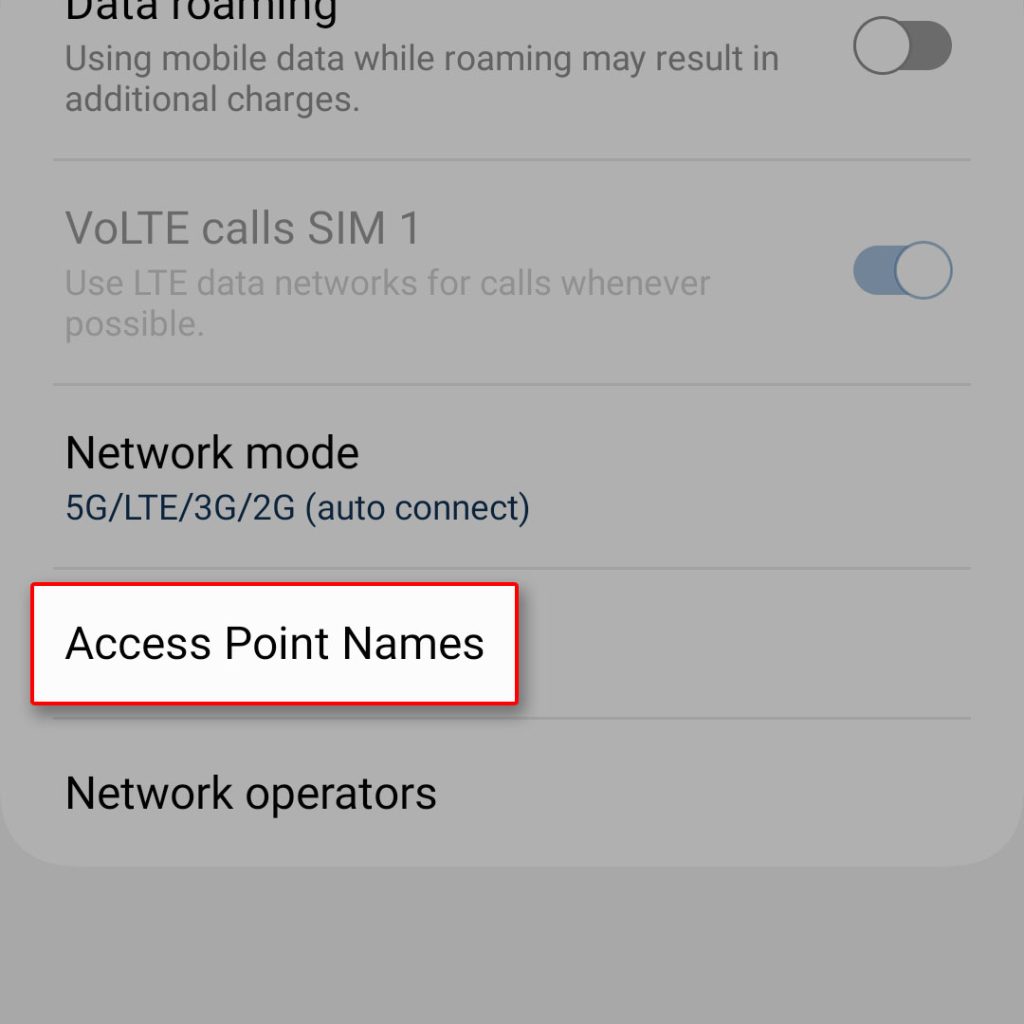
To verify your APN settings, go to “Settings,” select “Connections,” and then tap on “Mobile networks.” Choose “Access Point Names” and verify that the settings match those provided by your carrier. If necessary, contact your carrier to obtain the correct APN settings.
Step 4: Restart your device
Sometimes a simple restart can fix network-related issues. Restart your Samsung Galaxy device by pressing and holding the power button until the power menu appears.
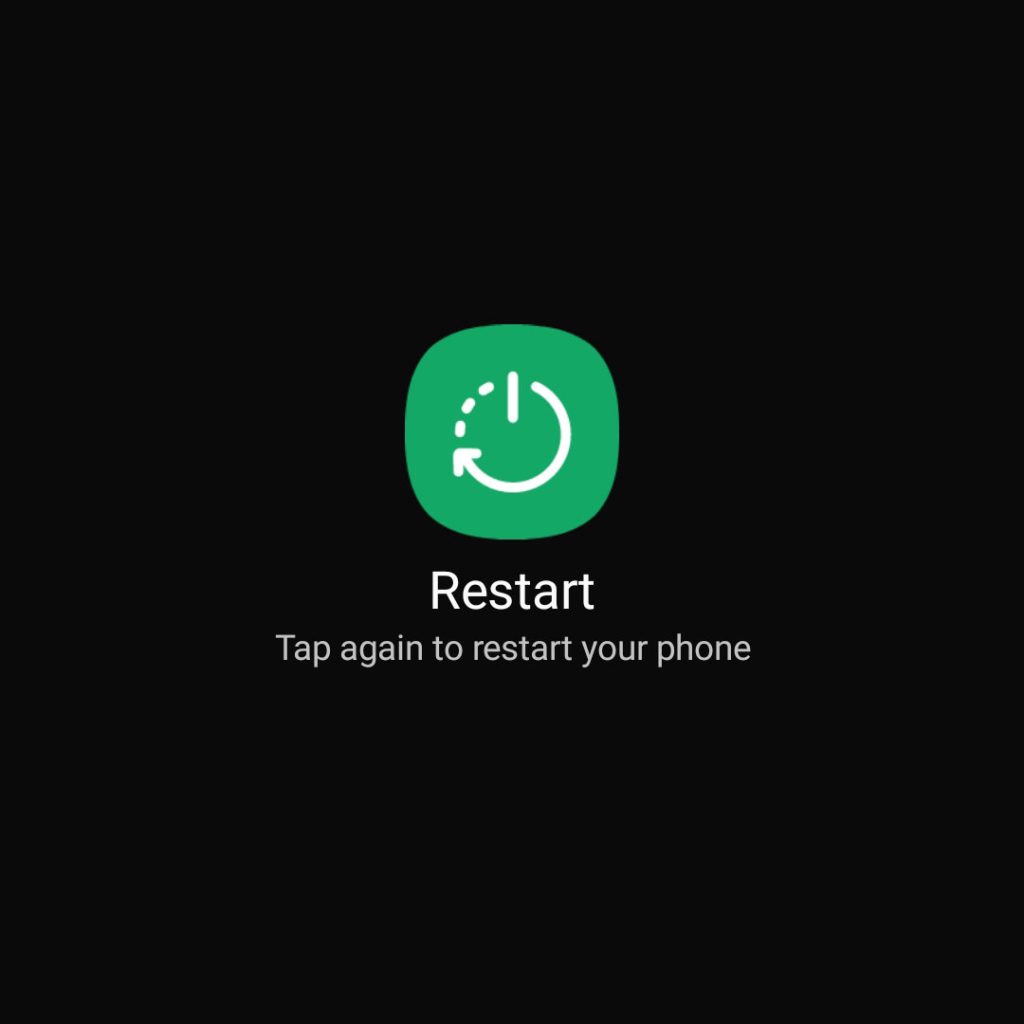
Select “Restart” or “Reboot” and wait for your device to power back on. Check if the MMS issue is resolved after the restart.
Step 5: Clear messaging app cache
Cached data can sometimes interfere with the proper functioning of the messaging app. Clearing the cache can help resolve any conflicts.
Go to “Settings,” select “Apps” or “Applications,” and then choose the messaging app you’re using (e.g., Messages, Samsung Messages).
Tap on “Storage” and then select “Clear cache.” Restart the messaging app and try sending or receiving MMS messages again.
Step 6: Reset network settings
Resetting network settings can often resolve various connectivity issues. However, note that this action will remove all saved Wi-Fi networks and Bluetooth connections.
To reset network settings, go to “Settings,” select “General management,” and tap on “Reset.” Choose “Reset network settings” and confirm your selection. Afterward, set up your Wi-Fi network again and check if MMS functionality is restored.
Step 7: Contact your carrier
If the above steps didn’t solve the problem, it’s possible that there’s an issue with your carrier’s network. Contact your carrier’s customer support and explain the problem you’re experiencing. They may be able to provide additional troubleshooting steps specific to their network or escalate the issue if necessary.
By following these troubleshooting steps, you should be able to resolve the problem of poor network connectivity affecting MMS sending and receiving on your Samsung Galaxy device.