How to Enable USB Debugging Mode on Galaxy A33 5g
This post will walk you through activating a hidden feature that will make a Samsung Galaxy smartphone accessible through a computer over a USB connection. Here’s a quick guide on how to enable USB debugging mode on Galaxy A33 5g.
Galaxy A33 USB Debugging Mode
USB debugging is tagged among other advanced features hidden in every Android phone’s secret menu called the Developer Options menu.
Modern Android phones are already capable of communicating with a computer that’s running the Android Software Developer Kit (SDK). This paves a way for you to use the device in advanced operations including software development and data transfers.
Manually moving files and running commands between devices would be a huge pain for software developers. In order to address this concern, they will need to streamline these processes using tools built into Android Studio and the Android SDK. And in order to make this happen, USB debugging must be enabled on the Android device.
When enabled, USB Debugging allows your Android phone to fully communicate with your computer and thereby makes these tools accessible.
If you’re wondering how to access and activate this feature on a Samsung Galaxy A33 5g smartphone, feel free to refer to the outlined steps below.
Steps to Enable USB Debugging Mode on Galaxy A33 5g
Performing the following steps will make your phone accessible through a computer or other compatible devices when plugged in through a USB cable.
These steps are also applicable when activating USB debugging on other Samsung Galaxy phones that are running on the same One UI or Android version.
Actual screens and menu items may vary between wireless carriers and device models so there might be some slight differences on every device’s user interface. Just be sure to keep your device software updated to ensure all key features are present.
Feel free to start whenever you’re all set to configure your device.
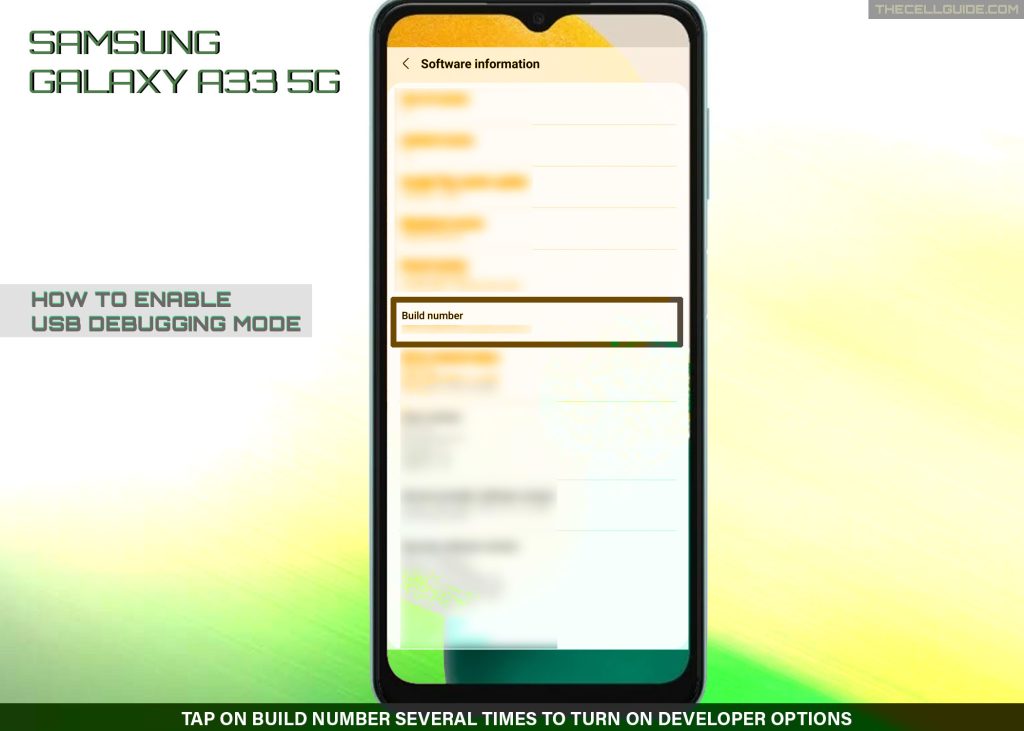
Step 1: In order to access the Debugging options, you’ll need to unlock the developer options menu of your phone.
- To do this, go to Settings-> About phone-> Software information menu and then successively tap on Build number several times until you’ll see a message saying that the Developer Options menu is already turned on.
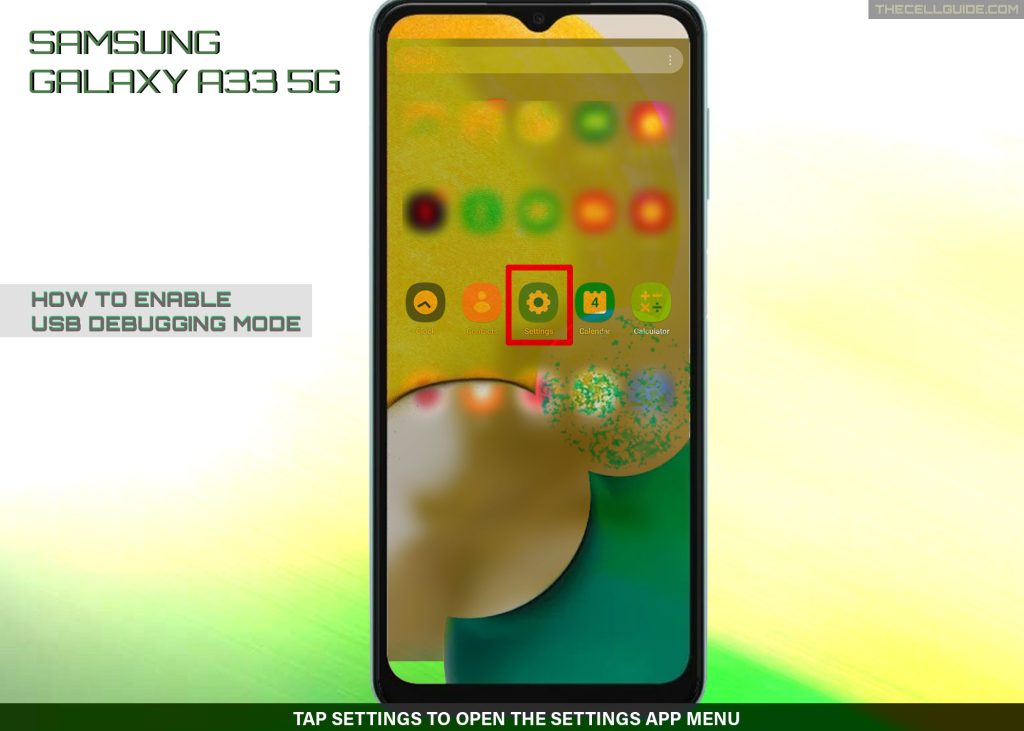
Step 2: After enabling the Developer options menu, return to the main Settings menu.
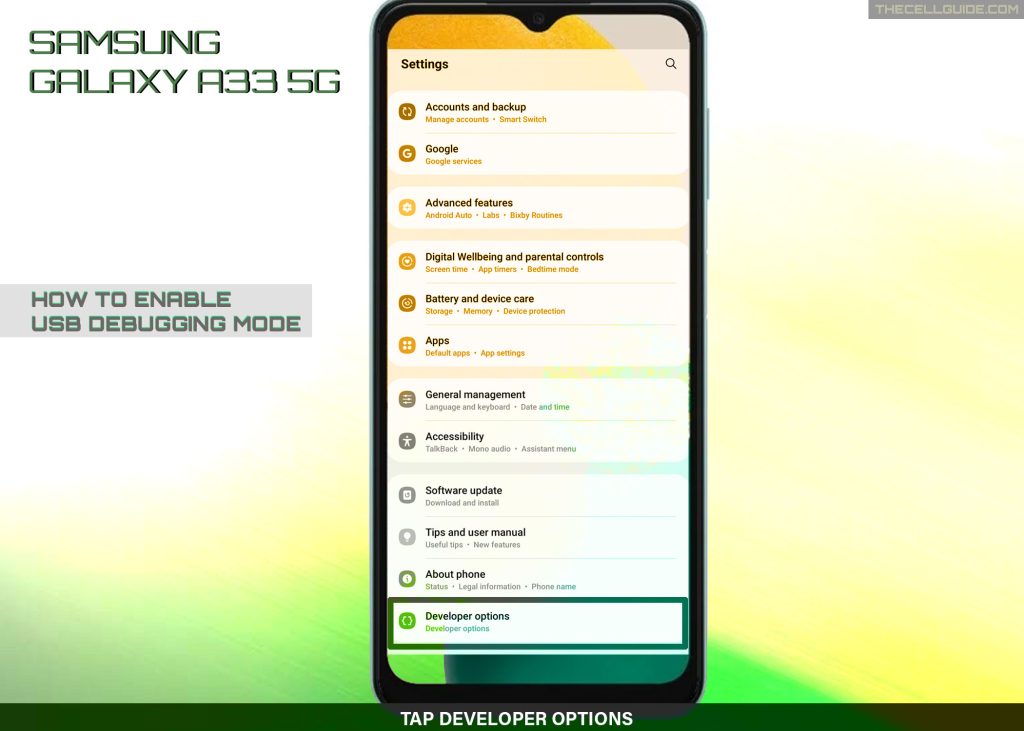
Step 3: In the Settings menu, scroll down to the bottom section and then tap Developer options. It should now be listed after About phone.
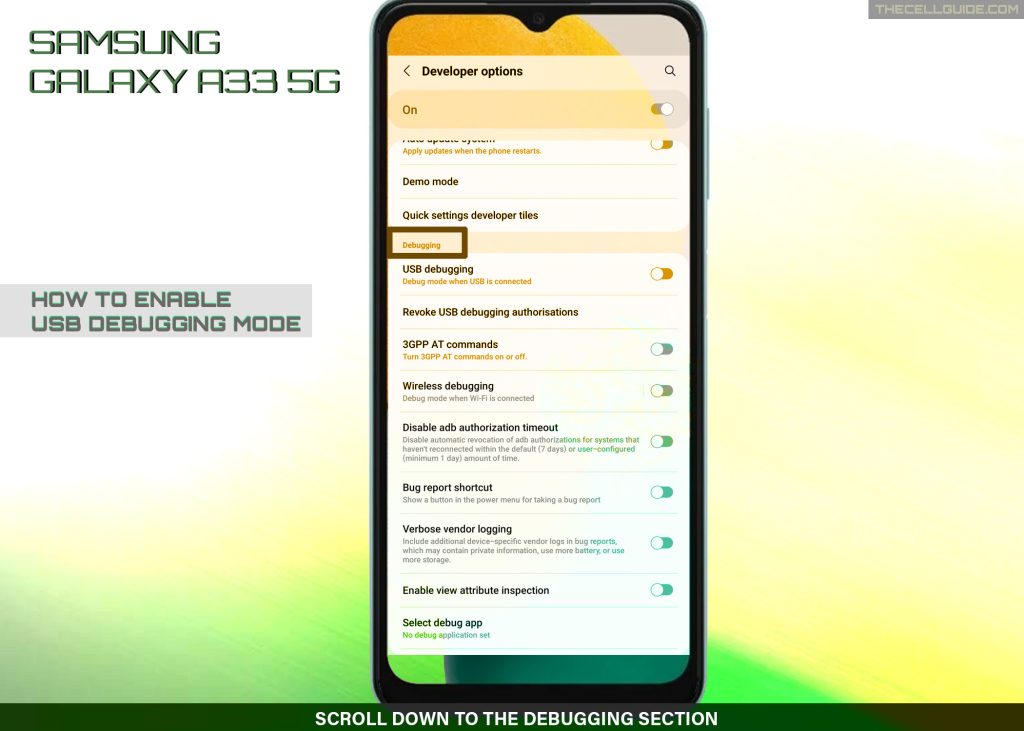
Step 4: On the Developer options menu, you’ll see a long list of advanced features that are mainly designed for software development and debugging purposes. Scroll down to the Debugging section to proceed.
Step 5: Under the Debugging section, you will see USB debugging listed among other relevant features. Simply tap to turn on the switch next to it to enable the USB debugging feature of the phone.
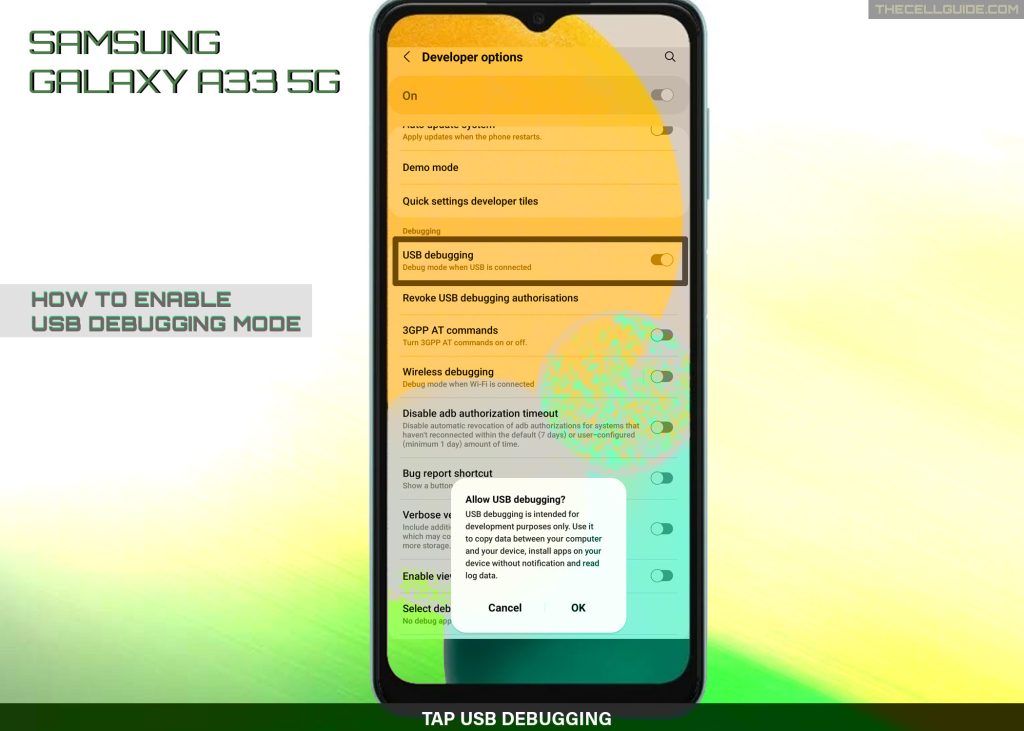
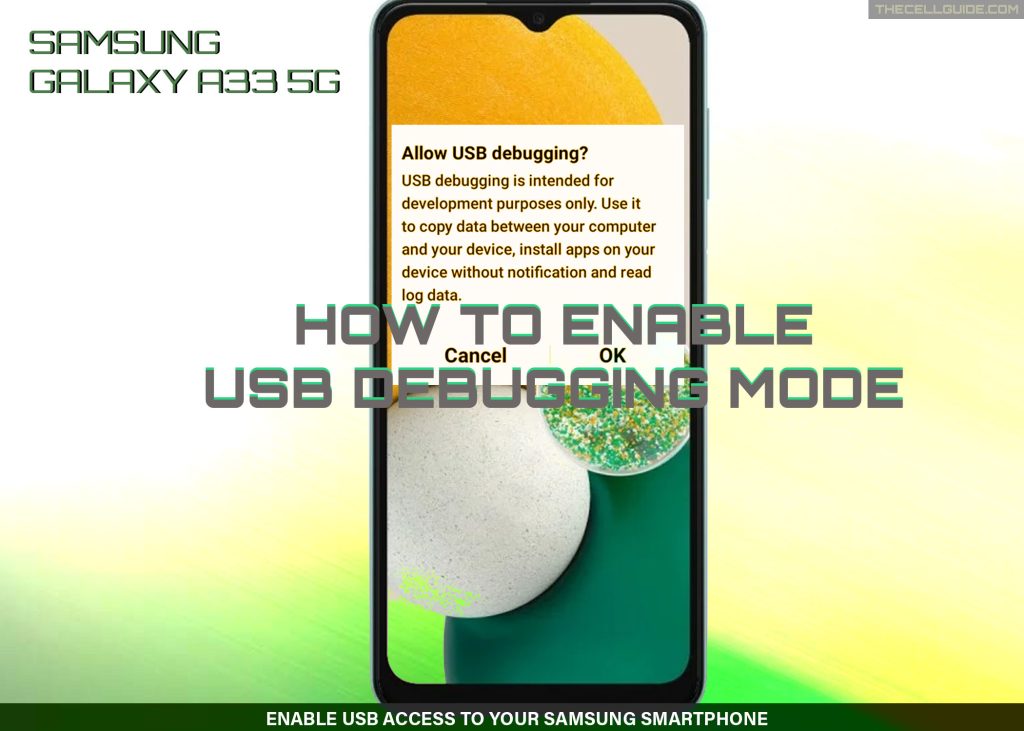
Step 6: A pop-up window will appear. Read and review the warning prompt and then tap OK to confirm.
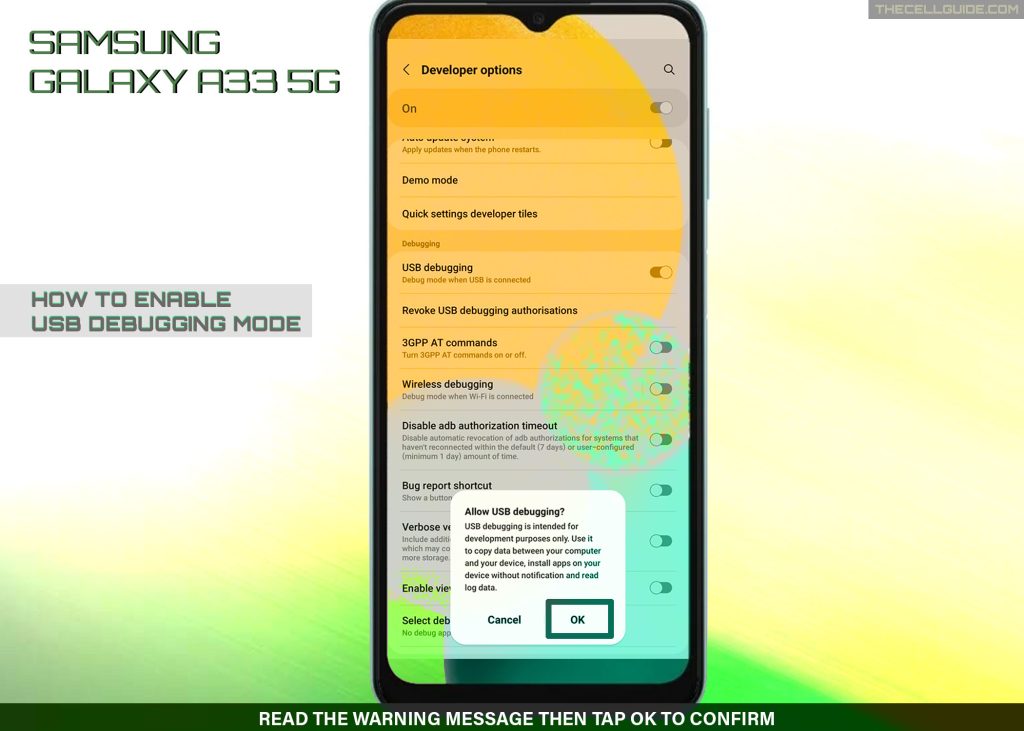
The warning prompt basically tells you about what the USB debugging feature is for and what happens when it’s enabled on the device.
Now that USB debugging mode is already enabled, your phone and all data from the internal storage should already be accessible by a compatible computer or other devices over a USB connection. That said, your devices should be all set for data and file transfers.
When is it necessary to activate USB debugging?
All the features hidden in the Developer mode or developer options menu are primarily intended for advanced users. However, this menu is likewise made accessible to common users because there are certain instances wherein enabling some of the hidden features inside it is needed.
The USB debugging mode for example, needs to be manually enabled in certain circumstances wherein a computer is unable to access the phone’s internal storage automatically over a USB connection.
A common scenario wherein you would need to turn on USB debugging mode is when your phone only charges when it’s plugged into the computer via USB cable instead of letting you access the internal storage.
Aside from turning on the USB debugging switch, setting the default USB configuration may likewise be necessary in this case.
When to disable USB debugging?
Again, please note that USB debugging is only intended for development purposes. That said, you’ll only be advised to enable this feature when transferring files between your phone and your computer as well as installing apps on the device without notification and reading logs.
When USB debugging is enabled, it makes your phone accessible by any computer or other compatible device over a USB connection. This therefore makes it vulnerable to any potential unauthorized access or breaches especially when you accidentally misplaced or lost your device.
In order to prevent any potential data breaches and information theft, be sure to disable USB debugging mode on your phone after using it.
To do this, simply turn the USB debugging option switch off or turn off the Developer Options switch to exit Developer mode.
And that’s how you enable USB debugging on a Samsung Galaxy A33 smartphone.
Hope this helps!
Please check out our YouTube channel to view more tutorial and troubleshooting videos for popular iOS and Android devices.