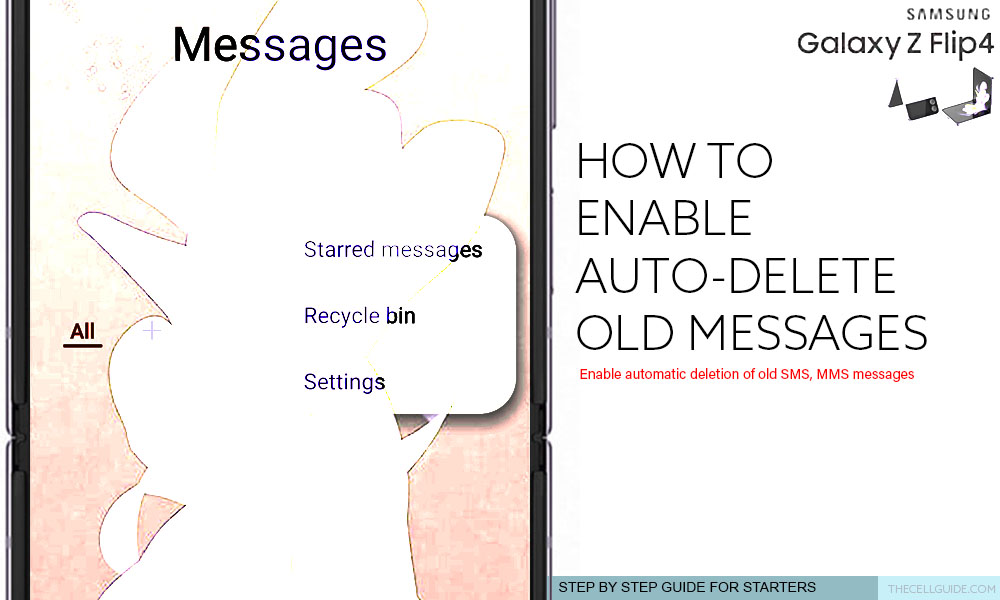
How to Enable Auto-Delete Old Messages on Galaxy Z Flip4
This post will walk you through activating a built-in messaging feature that automatically deletes old and unwanted messages from the new Galaxy Z Flip 4 smartphone whenever the inbox limit is reached. Here’s a quick guide to enable auto-delete old messages function on Galaxy Z Flip4.
Samsung Automatic Messages Deletion
Samsung Galaxy phones including the recently rolled out Galaxy Z Flip 4 device comes with an in-built messaging function that automatically deletes old (SMS) messages from the inbox whenever the maximum message capacity is reached for both MMS and SMS. Such a feature is called Delete old messages.
This feature is disable by default and therefore requires manual activation. If you think that keeping this function enabled on your new Samsung Galaxy Flip device is necessary, then you can refer to this guide to configure your device to work in this manner. Just read on for more detailed instructions.
Steps to Enable Auto-Delete Old Messages on Samsung Galaxy Z Flip4
The following steps are only applicable when using the default Samsung Messages application. If you’re using other SMS or third-party messaging apps, then activating automatic deletion of old messages would be carried out using different instructions.
Feel free to start whenever you’re all set to configure the default Messages app settings on your new Samsung Galaxy Flip smartphone.
Step 1: From the Home screen, find the Gear/Settings icon and then tap on it to launch the Settings app.
If you don’t see the Settings icon from Home, try to look for it on the Apps screen or use the Settings shortcuts from the Quick settings panel instead.
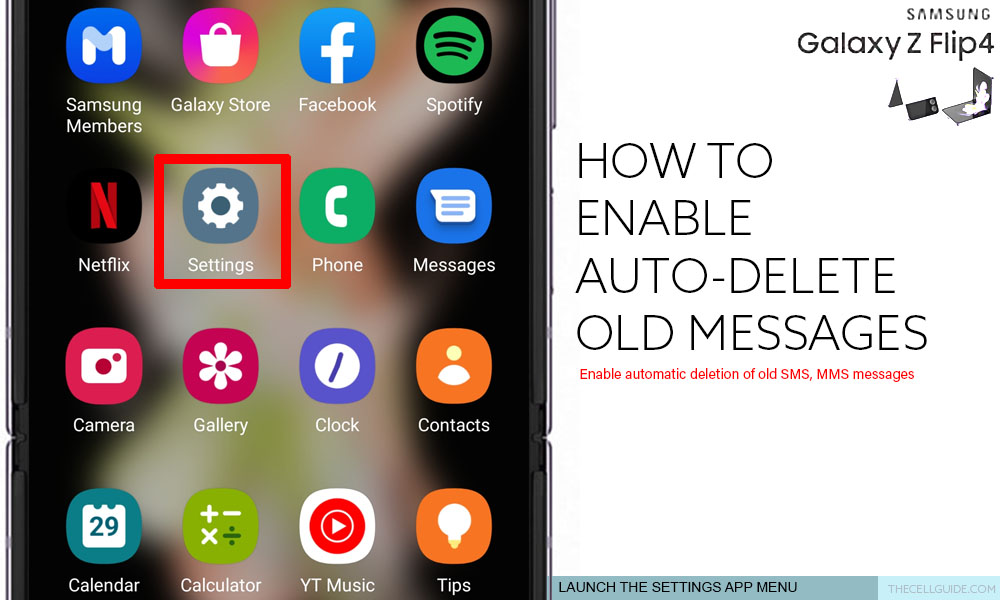
Either way will take you to the same settings app menu on your device.
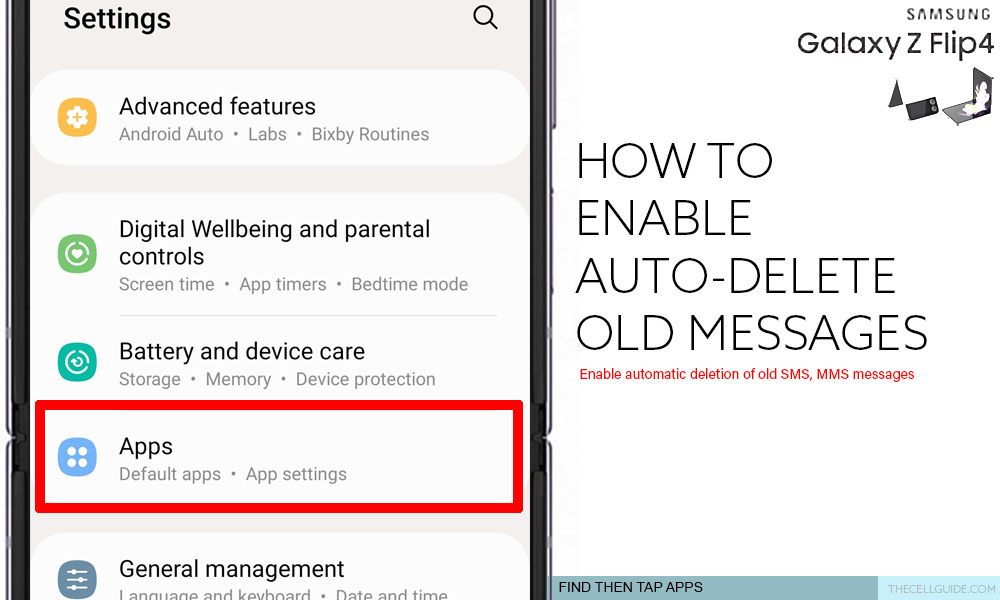
Step 2: In the Settings menu, scroll to find then tap Apps. A list of all system apps (pre-installed) and downloaded apps will show up on the next screen.
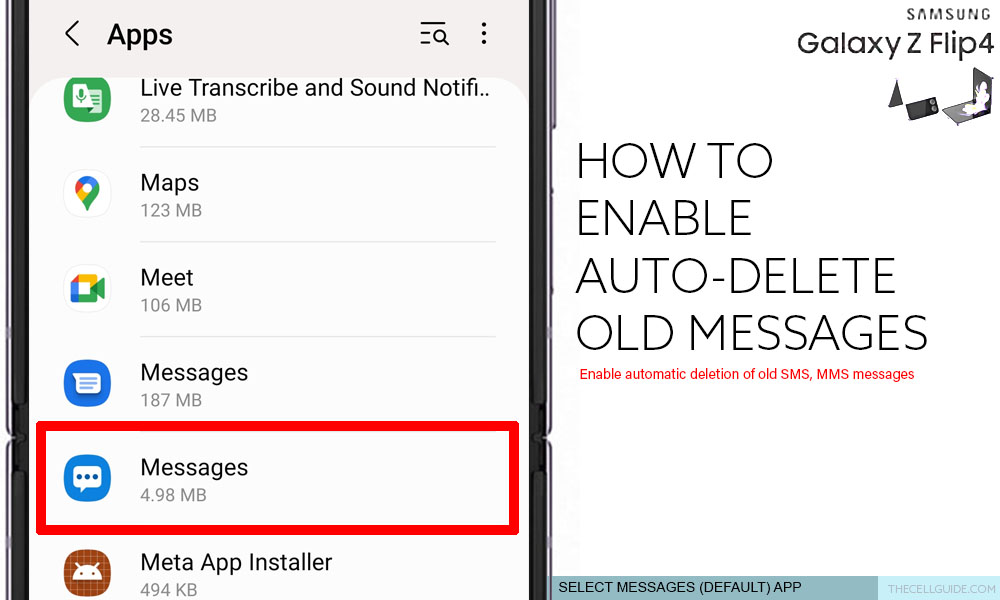
Step 3: Find Messages and then tap on it. You can also use the Search function in the Apps menu to speed up your search and save time from scrolling down through different apps.
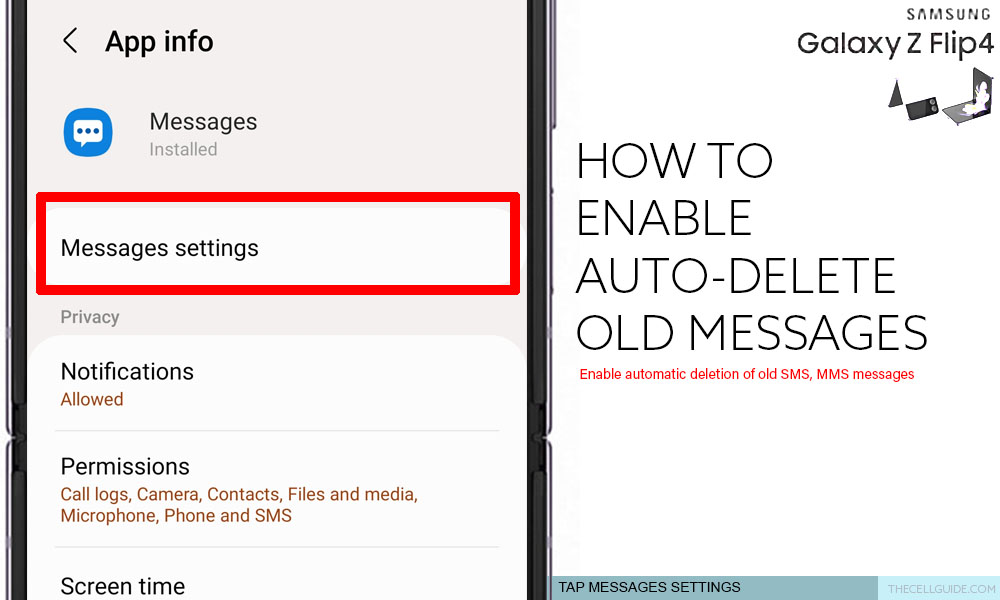
Step 4: In the Messages app Info screen, tap Messages settings. Doing so will take you to the default messaging app’s settings menu.
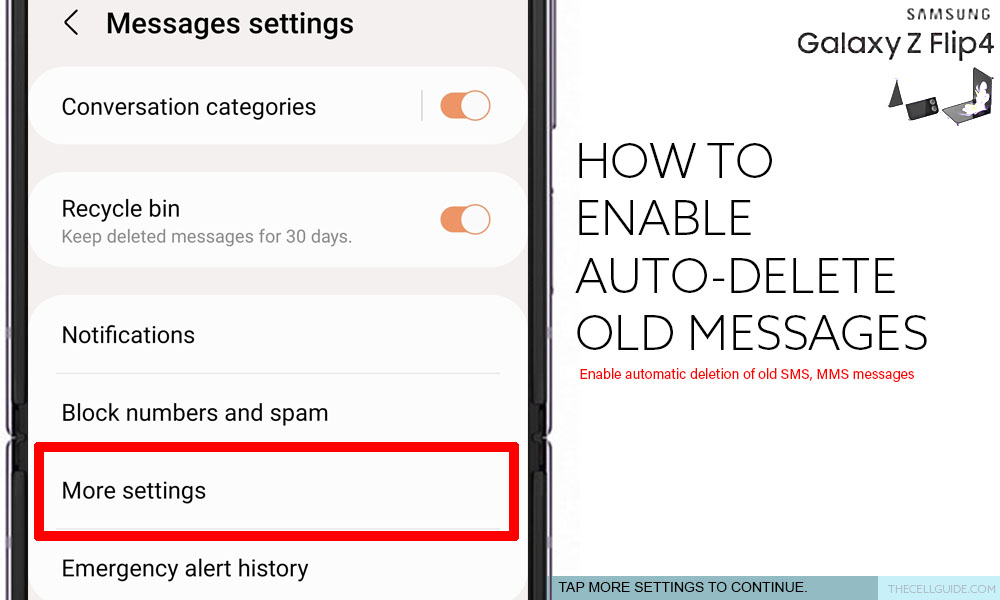
Step 5: To continue, tap More settings. Another menu opens with additional options.
Step 8: In the bottom of the list, you will see the option to automatically Delete old text messages. To enable automatic deletion of old messages on your phone, simply tap to turn the Delete old messages switch ON.
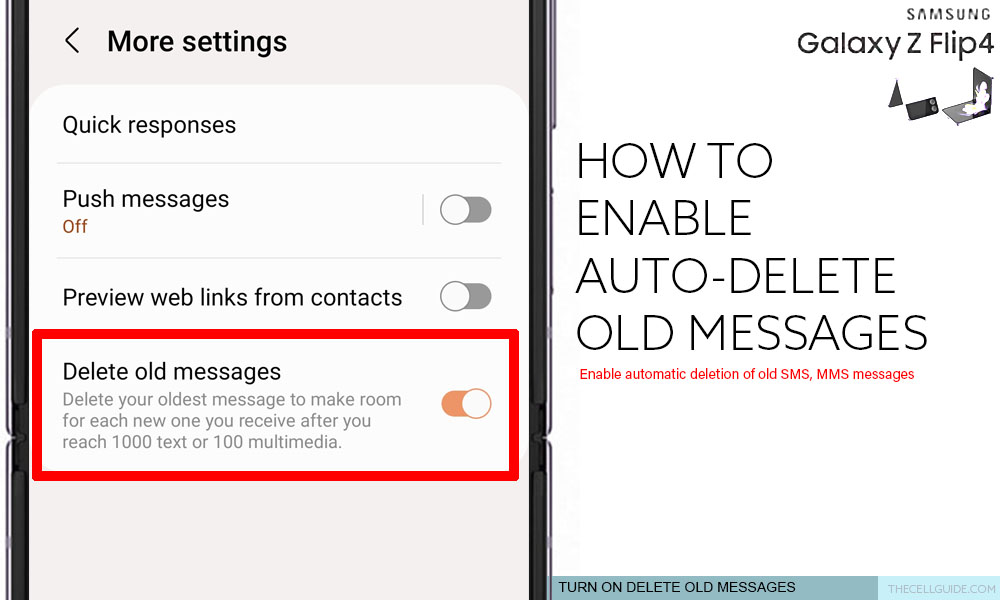
Keeping that switch on prompts your device to automatically remove your oldest message whenever the maximum number of messages in the inbox is reached. This gives more room for every new message you receive later on.
Quick Hint:
The maximum number of SMS the Samsung Galaxy Z Flip 4 default messaging (Messages) app inbox can allocate is 1000 texts and 100 for multimedia or MMS messages.
When to disable automatic message deletion?
By default, the automatic deletion of old messages feature is disabled on the Samsung Messages app. This therefore suggests that the use of this feature is optional.
Utilizing this feature is ideal for those who constantly get SMS messages on a daily basis as there’s a higher chance that their inbox becomes easily full.
To make room for new messages without having to manually remove a number of unnecessary messages, conversations and threads, turning the auto-delete old messages function is advised. Keeping this feature enabled doesn’t affect any other apps, settings or files on your device.
How to recover old important messages that were automatically deleted?
Typically, deleted messages stay in the Trash for 30 days. That’s plenty of time for you to recover them when needed unless you’ve disabled Trash for messages.
In the case where you’ve lost an important old message and found out that it was automatically removed, you can still recover and restore it through Samsung Cloud or Google Drive, depending on the backup method you’re using.
Other ways to retrieve deleted messages on a Samsung Galaxy phone include Mobile carriers retrieval system (if supported), Samsung Switch and other third-party solutions.
Samsung Cloud Backup Retrieval
Considering that you’ve backed up your data through Samsung Cloud, you can restore deleted SMS by going to Settings-> Accounts and backup menu then choose the option to Restore data. There, you should see your last backup history. Find and select the desired history then tap Messages.
You may opt to restore multiple files or select a certain file to restore. After selecting the file(s), tap Restore then wait for your message(s) to finish restoring.
Mobile Carrier Messages Retrieval System
Another option is to ask help from your mobile service provider (carrier). Many carriers including T-Mobile, AT&T, and Verizon do offer assistance to its subscribers who need help retrieving deleted text messages.
These carriers typically have a dedicated repository of all deleted messages including relevant details like time, date and people you’ve exchanged the texts with over a certain period of time.
Talk to your carrier for further assistance and confirm if they can help you retrieve deleted texts.
Samsung Smart Switch
If you haven’t enabled Samsung Cloud or Google Drive on your phone, then you can try using Samsung Smart Switch. It’s the company’s very own data transfer solution that’s also capable of retrieving deleted files including text messages on a Samsung device.
If you’ve already got an existing data backup on Samsung Switch, then you can use the software to recover important messages that you’ve lost. This also denotes the need for you to download and install the Samsung Switch software on your computer beforehand.
Hope this helps!
Please check out our YouTube channelto view more tutorial and troubleshooting videos for popular iOS and Android devices.
You Might Also Want To Read:
- How to Fix No SIM Card or Invalid SIM Error on iPhone 13 | iOS 15
- Samsung Galaxy S21 Phone Keeps Crashing? Here are the solutions
- What to Do If Apple iPhone 13 Mini Keeps Losing Signal | Cellular Network
- How to Fix iPhone 13 Won’t Turn On Issue | iOS 15
- Apple iPhone 13 Screen Flickering? Here’s how you fix it!