Samsung Galaxy Note 9 Moisture Detected Error: Learn Why and How to Fix It!
Seeing a “Moisture detected in charging port” error on your Samsung Galaxy Note 9 can certainly be alarming and concerning. You rely on being able to charge your phone normally whenever needed. When the Galaxy Note 9 suddenly warns you about supposed moisture and refuses to charge, it leaves you unable to power up your device.
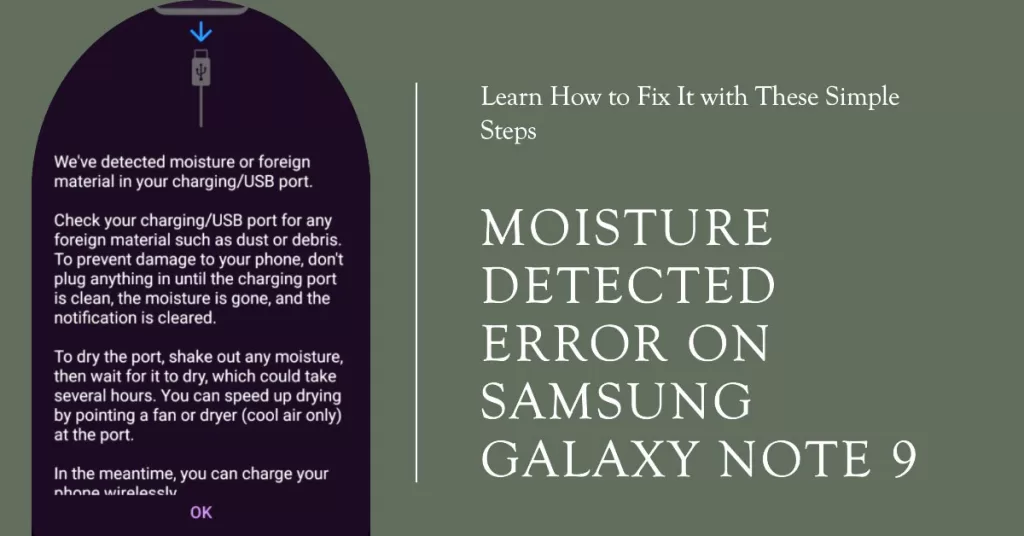
Not to worry – in most cases, the “moisture detected” error can be fixed on the Galaxy Note 9 using some simple troubleshooting techniques. Let’s examine what causes this frustrating error message and the steps to make charging work properly again.
Why Is Your Galaxy Note 9 showing Moisture Detected warning?
The moisture detected error on the Galaxy Note 9 can be caused by a number of things, including:
- Water or moisture in the charging port. This is the most common cause of the error. If your phone has been exposed to water or moisture, even if it is just a small amount, it can trigger the sensor.
- High humidity. Even if your phone has not come into direct contact with water, it can still trigger the moisture detected error if it is exposed to high humidity for an extended period of time.
- Dust or debris in the charging port. Dust and debris can also trigger the moisture detected error. If your charging port is dirty, it can prevent the charger from making a good connection, which can cause the phone to think that there is moisture in the port.
- A software glitch. In some cases, the moisture detected error can be caused by a software glitch. This is less common, but it is still possible.
How to Fix Moisture Detected Error on Samsung Galaxy Note 9
In most cases, the ‘Moisture detected’ error prompt is rectified by performing some basic workarounds including the ones highlighted below.
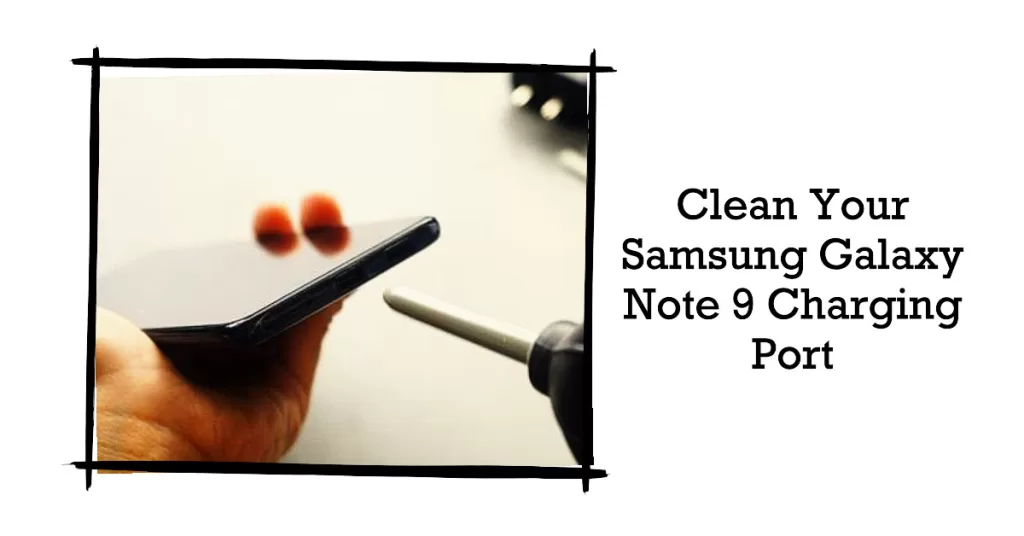
1. Clean Out Charging Port
Cleaning the charging port can help fix the moisture detected error on the Galaxy Note 9 by removing any dust, debris, or moisture that may be triggering the sensor.
When the charging port is dirty, it can prevent the charger from making a good connection. This can cause the phone to think that there is moisture in the port, even if there is not.
To clean the charging port, you can use a can of compressed air to blow out any dust or debris. You can also use a toothpick or a Q-tip to gently clean the port. Be careful not to damage the pins.
Here are the steps on how to properly clean the charging port of your Galaxy Note 9:
- Turn off your phone and unplug it from the charger.
- Use a can of compressed air to blow out any dust or debris from the charging port.
- If there is still dust or debris in the port, you can use a toothpick or a Q-tip to gently clean it out. Be careful not to damage the pins.
- Once the charging port is clean, plug your phone back into the charger and turn it on.
It is important to note that the moisture detected error is a safety feature designed to protect your phone from water damage. Do not try to charge your phone if you are getting the moisture detected error. This could damage your phone’s internal components.
2. Restart Charging Detection
Enabling the Restart charging detection feature on the Galaxy Note 9 resets the charging port’s moisture detection so it re-checks conditions.

To enable Restart charging detection on your Galaxy Note 9, follow these steps:
- Open the Settings app.
- Tap Device care.
- Tap Battery.
- Tap the More battery settings menu icon (three dots) in the top right corner.
- Tap Restart charging detection.
- Toggle on the switch next to Restart charging detection.
This will enable your phone to automatically restart charging if it is interrupted due to a moisture detection error.
Note: If you do not see the Restart charging detection option, it is possible that it is not available on your phone’s software version.
Try plugging in your charger again after restarting detection.
3. Factory Reset Note 9
A factory reset can help fix the moisture detected error on the Galaxy Note 9 by clearing all of the data and settings on your phone. This includes any software glitches that may be causing the error.

However, it is important to note that a factory reset will also erase all of your personal data, including your apps, photos, videos, and other files. Therefore, it is important to back up your data before performing a factory reset.
To perform a factory reset on your Galaxy Note 9, follow these steps:
- Turn off your phone.
- Press and hold the Volume Up and Bixby buttons at the same time.
- While holding down the Volume Up and Bixby buttons, press and hold the Power button.
- Continue holding all three buttons until you see the Android Recovery screen.
- Use the Volume Down button to navigate to the Wipe data/factory reset option.
- Press the Power button to select the Wipe data/factory reset option.
- Use the Volume Down button to navigate to the Yes option.
- Press the Power button to select the Yes option and confirm the factory reset.
Your phone will now begin to erase all of its data and settings. Once the factory reset is complete, your phone will restart.
After your phone has restarted, you will need to set it up again, like you did when you first got it. This includes signing in to your Google account and installing any apps that you want to use.
If you are still getting the moisture detected error after performing a factory reset, it is possible that there is a hardware problem with your phone. In this case, you may need to contact Samsung support for further assistance.
When to Contact Samsung Support
For recurring false moisture warnings even after troubleshooting, contact Samsung Support for assistance. Provide the steps attempted and details on when issue started. You can reach out to Support via live chat on Samsung’s site or schedule an appointment at a local Samsung authorized service center.
Don’t let that persistent “Moisture detected” error prevent you from charging your Note 9! A bit of focused troubleshooting will get it working normally again.