Seeing a “No SIM Card” or “No Service” error on your Motorola Moto G can be alarming. Without cellular connectivity provided by a detected SIM, your Moto G loses the ability to make calls, send texts, or use mobile data. You rely on SIM detection for full functionality whenever you need it.
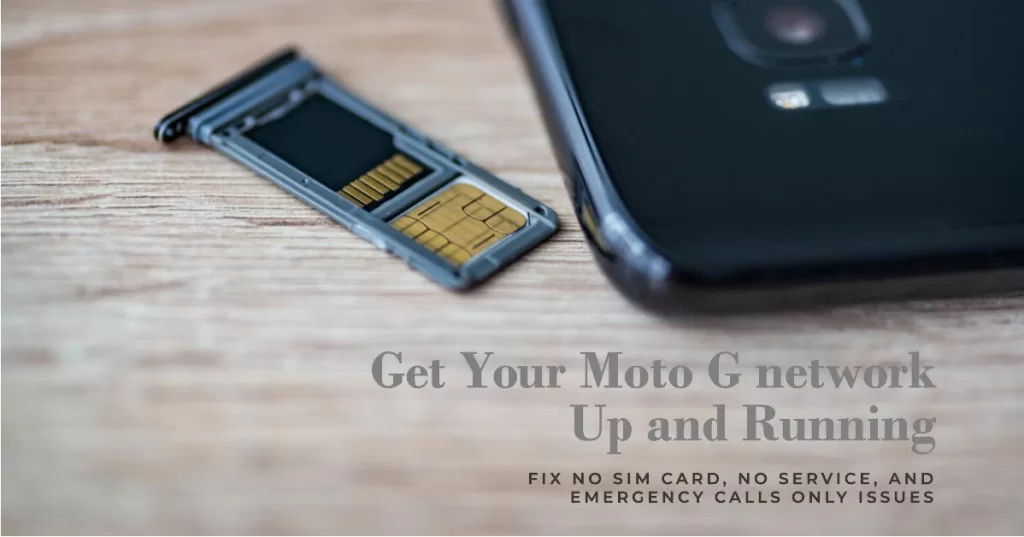
When the Moto G cannot detect an inserted card, it severely limits the device. Don’t worry though – in most cases, you can resolve SIM detection issues on the Moto G by using some simple troubleshooting techniques. Let’s examine why it may not detect a SIM and potential fixes.
Why Is Your Moto G showing No SIM card, No Service or Emergency Calls Only error?
There are a few common reasons why a Moto G might show “No SIM Card”, “No Service”, or “Emergency Calls Only”:
- SIM card is not inserted or is not properly seated. This is the most likely cause, so it’s always worth checking your SIM card first. Make sure it’s inserted correctly in the SIM tray and that the tray is fully inserted in the phone.
- SIM card is damaged or defective. If you’re sure your SIM card is inserted properly, it’s possible that it’s damaged or defective. Try using a different SIM card to see if that fixes the problem. If it does, you’ll need to contact your carrier to get a replacement SIM card.
- Software issue. Sometimes a software issue can prevent your phone from detecting your SIM card or connecting to the network. Try restarting your phone and see if that fixes the problem. If it doesn’t, you may need to update your phone’s software or perform a factory reset.
- Network issue. There could be a problem with the network itself, which could be causing your phone to show “No Service” or “Emergency Calls Only”. Try moving to a different location and see if that fixes the problem. If it doesn’t, you may need to contact your carrier to see if there is a network outage in your area.
Troubleshooting No SIM card, No Service, Emergency Calls only error on Moto G
SIM detection issues typically stem from improperly inserted SIM cards, hardware failure, or software bugs. By double checking SIM card insertion, cleaning SIM contacts, updating software, and contacting Motorola, you can systematically isolate and eliminate the root cause.
Here’s the outline of some effective solutions that you can try on your end before escalating the problem to your network carrier.
1. Verify SIM Card Inserted Correctly
Oftentimes, the No service, No SIM card or Emergency calls only signal status is attributed to a faulty or dislodged SIM card on the phone.
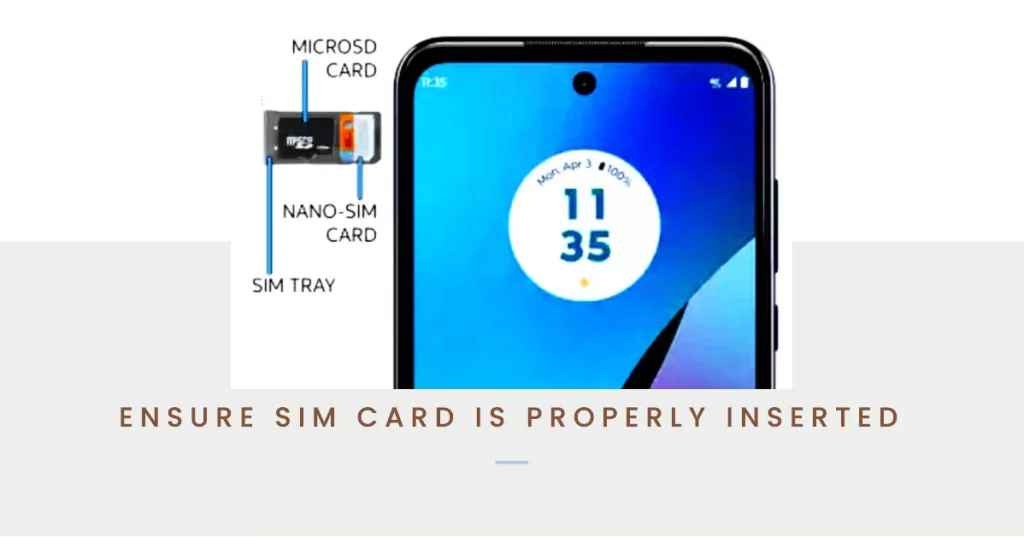
Thus, the first step is to carefully remove your SIM card and reinsert it fully until you feel it click securely into the SIM tray. Improper insertion is the top reason a Moto G won’t detect a SIM.
Also care to inspect the SIM card tray for any dust, debris, or damage that could be interfering with proper SIM seating. Insert the tray gently until snug.
2. Clean SIM Card and Contacts
Your phone may not be able to detect the SIM card when the contacts are barred by some dirt or debris.
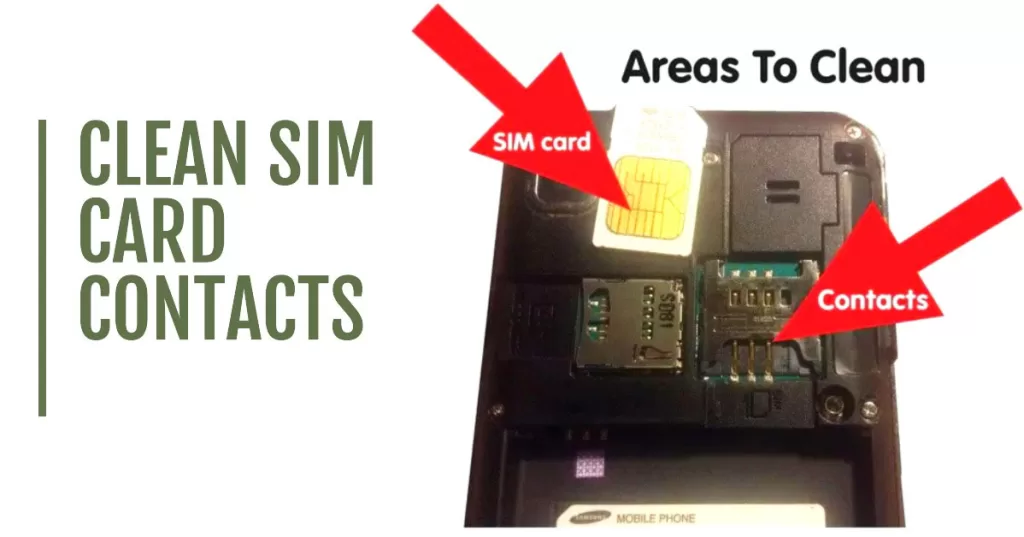
- To clear this out, use a clean microfiber cloth to gently wipe the gold contacts on the SIM card itself. Clean contacts ensure a proper connection is made with the Moto G’s SIM reader.
You can also use compressed air to spray out any debris in the SIM card slot. Avoid using any liquids to clean the SIM tray area.
3. Enable/Disable Airplane Mode
When you enable airplane mode, your phone will disconnect from the cellular network and stop transmitting and receiving any wireless signals. This can help to resolve network problems by refreshing your phone’s connection to the network.
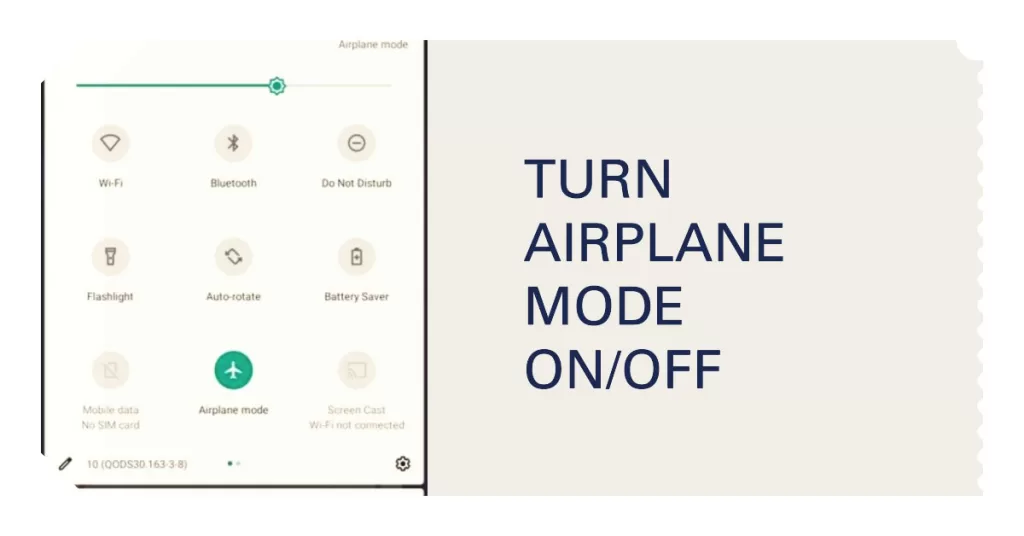
To enable airplane mode on a Moto G, follow these steps:
- Swipe down from the top of the screen to open the notification bar.
- Tap the airplane mode icon to toggle it on or off.
To disable airplane mode, simply tap the airplane mode icon again.
To troubleshoot network problems on a Moto G using airplane mode, follow these steps:
- Enable airplane mode.
- Wait for 30 seconds.
- Disable airplane mode.
- Check your signal strength and see if you can now connect to the cellular network.
Airplane mode is a setting on most mobile devices that disables all wireless and cellular signals. This includes Wi-Fi, Bluetooth, GPS, and NFC. Airplane mode is typically used when you are on an airplane, but it can also be used to troubleshoot network problems.
4. Manually Select Network Operator
By manually selecting a network operator, you are forcing your phone to connect to a specific network instead of automatically connecting to the strongest signal. This can be helpful if there is a problem with your automatic network selection or if you are in an area where there are multiple networks available but only one network is providing service.
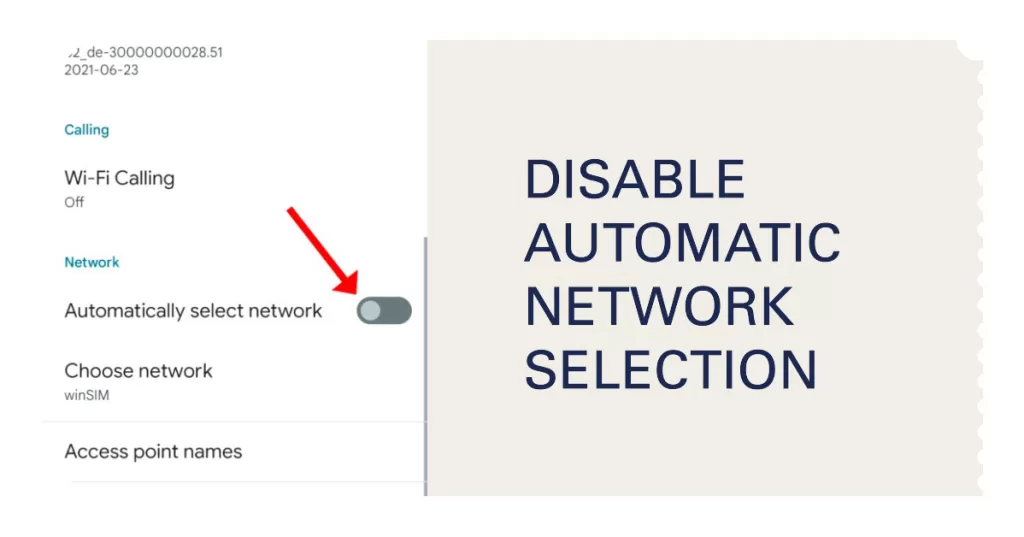
To manually select a network operator on a Moto G, follow these steps:
- Go to Settings > Mobile networks > Network operators.
- Turn off the toggle for Select automatically.
- Wait a few seconds for your phone to scan for available networks.
- Tap on the name of the network that you want to connect to.
- If the network requires a password, enter it and tap Connect.
Once you have manually selected a network operator, your phone will try to connect to that network. If the network is not available or if there is a problem with the network, your phone will display an error message.
5. Check for Software Updates
If you are experiencing the “No SIM card”, “No service”, or “Emergency calls only” error on your Moto G, it is a good idea to check for and install any available software updates.
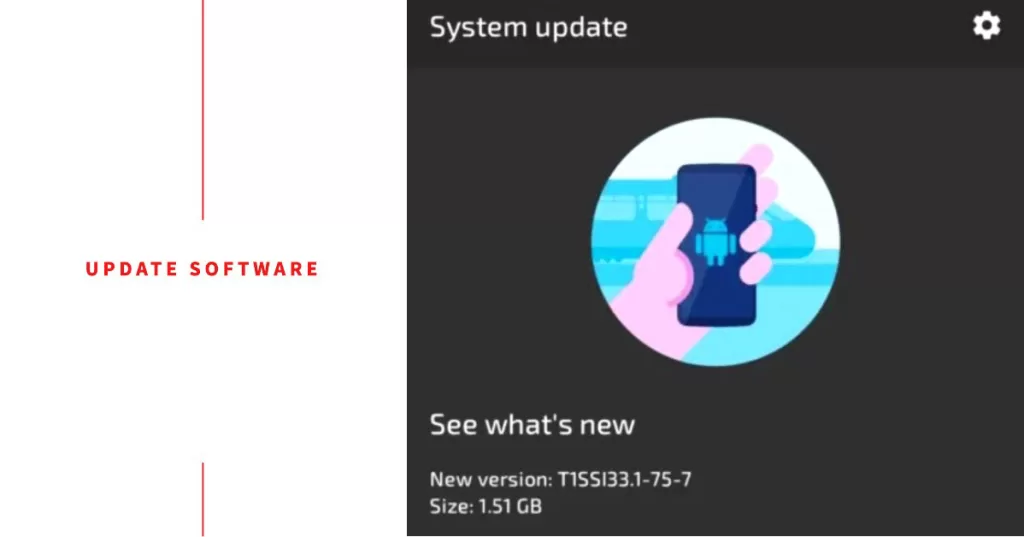
- To do this, go to Settings > System > System update > Check for updates.
If you are unable to install a software update over the air, you can try downloading and installing the update manually from the Motorola website.
Software updates can help fix the “No SIM card”, “No service”, or “Emergency calls only” error on a Moto G in a few ways:
- Bug fixes. Software updates often include bug fixes for known issues, including network connectivity problems.
- Performance improvements. Software updates can also improve the overall performance of your phone, which can help to resolve network problems caused by software glitches.
- New features and functionality. Software updates can also add new features and functionality to your phone, such as support for new network bands or cellular technologies.
Once you have installed a software update, restart your phone and check to see if the problem has been resolved.
6. Reset Network Settings
Resetting your phone’s network settings can help to fix the “No SIM card”, “No Service“, or “Emergency calls only” error by resetting your phone’s network connection to its default settings. This can resolve network problems caused by software glitches, incorrect settings, or network outages.

To reset your network settings on a Moto G, follow these steps:
- Open the Settings app.
- Tap System.
- Tap Reset options.
- Tap Reset Wi-Fi, mobile & Bluetooth.
- Tap Reset settings.
- Tap Reset to confirm.
Once your phone has reset its network settings, try connecting to the cellular network again.
When you reset your network settings, your phone will forget the following information:
- Saved Wi-Fi networks
- Bluetooth pairings
- Cellular network settings
- VPN settings
- APN settings
After you reset your network settings, you will need to reconnect to your Wi-Fi networks and Bluetooth devices. You may also need to reconfigure your cellular network settings, VPN settings, and APN settings.
When to Contact Motorola Support
For recurring SIM detection failures even after troubleshooting, contact Motorola Support. They can facilitate repairs if hardware damage is preventing SIM detection.
You can reach out to Support via live chat on Motorola’s site or schedule an appointment at an authorized service center. With focused troubleshooting, you should be able to get your Moto G reliably detecting your SIM again.
