Is Chrome Using Too Much Data? Follow These Steps to Minimize Data Usage
Have you noticed Chrome consuming an excessive amount of mobile data or bandwidth? With daily browsing, streaming, and use, Chrome can quickly eat through data caps and slow down internet speeds. The good news is Chrome offers many settings to reduce and optimize data usage.

By configuring options like Data Saver, caching, and clearing stored data, you can significantly minimize the amount of data Chrome uses.
Easy Ways To Reduce Mobile Data Usage for Chrome and Other Apps
Let’s look at signs Chrome is using too much data along with steps to reduce its data footprint through settings adjustments and behavioral changes. With a few simple tweaks, you can maintain snappy browsing speeds without constant data overages.
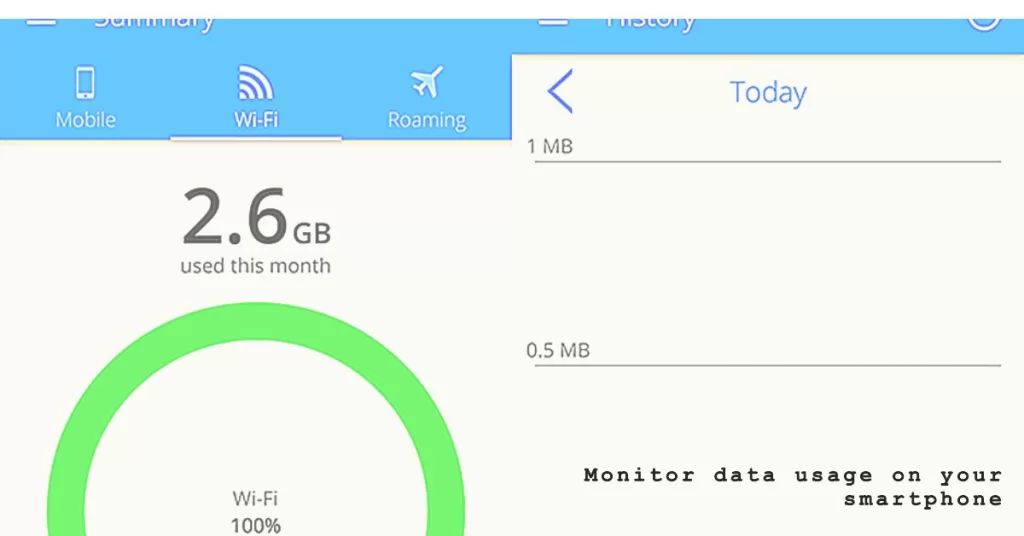
Step 1: Monitor Data Usage
First, keep an eye on Chrome’s data usage.
For Android:
To check your mobile data usage on Android, follow these steps:
- Open the Settings app.
- Tap Network & internet.
- Tap Internet.
- Next to your carrier, tap Settings.
- At the top, you’ll see how much total data you’ve used.
- To see graphs and details, tap App data usage.
- To pick a time period, tap the Down arrow.
To check how much data each app uses, look below the graph.
You can also set mobile data usage warnings and limits. To do this, tap the three dots in the top right corner of the screen and select Set warning & limit.
Here, you can set a warning to be notified when you reach a certain data usage limit. You can also set a limit to automatically turn off mobile data when you reach a certain data usage limit.
For iOS:
To check mobile data usage on iOS, follow these steps:
- Open the Settings app.
- Tap Cellular or Mobile Data.
- Scroll down to the Mobile Data section.
- Under Current Period, you will see the total amount of mobile data you have used since the beginning of the current billing cycle.
- To see which apps are using the most mobile data, scroll down to the Cellular Data Usage section. This will show you a list of all apps that have used mobile data in the current billing cycle, along with the amount of data each app has used.
You can also view your mobile data usage for a specific time period by tapping the Date Range button at the top of the Cellular Data Usage section. Then, select the desired time period from the calendar.
To reset your mobile data usage statistics, tap Reset Statistics at the bottom of the Cellular Data Usage section. This will reset the statistics for the current billing cycle.
If you are using an iPhone with Dual SIM, you can see how much mobile data you have used with each SIM card by tapping Cellular Data Options at the top of the Cellular screen. Then, tap the SIM card that you want to view the data usage for.
Note: The steps above may vary slightly depending on your Android device and manufacturer.
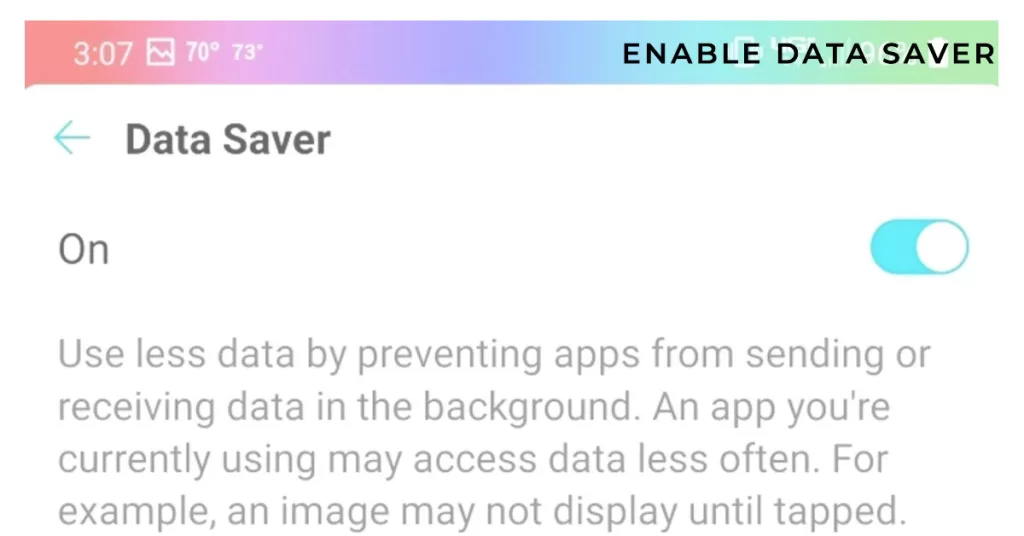
Step 2: Enable Data Saver
Data Saver is designed to reduce data consumption by compressing pages, limiting images/videos, and restricting background data.
For Android:
To enable Data Saver on Android, follow these steps:
- Open the Settings app.
- Tap Network & internet.
- Tap Data Saver.
- Toggle on the Use Data Saver switch.
When Data Saver is enabled, your phone will restrict background data usage for most apps. This can help you save mobile data, especially if you have a limited data plan.
For iOS:
To enable Data Saver on iOS, also known as Low Data Mode, follow these steps:
- Open the Settings app.
- Tap on Cellular (or Mobile Data).
- Tap on Cellular Data Options (or Mobile Data Options).
- Toggle on Low Data Mode.
With Data Saver enabled, pages load leaner versions optimized for minimum data usage. This significantly reduces overhead data.
Step 3: Limit Number of Tabs
Having too many active tabs open strains memory, slows page loading, and increases data usage. Try keeping tabs limited to essential active ones and close ancillary ones. Fewer tabs means less data needed for supporting additional page connections, updates, and caching. Close inactive tabs to conserve data.
There are two ways to limit the number of tabs in Chrome:
a. Using a Chrome extension
There are a number of Chrome extensions that can be used to limit the number of tabs. One popular option is Tab Limiter. To use Tab Limiter, follow these steps:
- Open the Chrome Web Store and search for “Tab Limiter”.
- Click on the “Add to Chrome” button.
- Click on the “Add extension” button to confirm.
- Once the extension is installed, click on the extension icon in the toolbar.
- Enter the maximum number of tabs you want to allow open at any given time.
- Click on the “Save” button.
If you try to open more tabs than the limit you have set, the extension will automatically close the oldest tabs.
b. Using a Group Policy
If you are using Chrome Enterprise, you can use a Group Policy to limit the number of tabs that users can open. To do this, follow these steps:
- Open the Group Policy Management Console.
- Navigate to the following path:
User Configuration\Policies\Administrative Templates\Google Chrome
- Double-click on the “Maximum number of tabs allowed” policy.
- Enable the policy and enter the maximum number of tabs you want to allow open at any given time.
- Click on the “OK” button.
Once the policy is applied, users will not be able to open more tabs than the limit you have set.
Please note that limiting the number of tabs can have a negative impact on performance, especially if you have a lot of tabs open at once. It is important to find a balance between limiting the number of tabs and maintaining good performance.
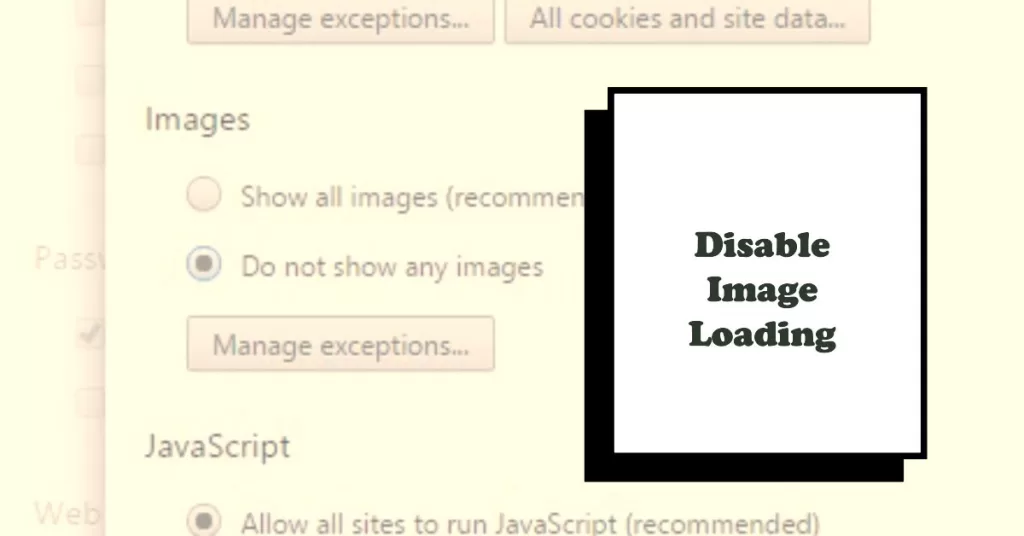
Step 4: Disable Image Loading
Images on pages can consume large amounts of data, especially high-resolution graphics. In this case, disabling image loading can help.
To disable image loading in the Chrome app on Android, follow these steps:
- Open the Chrome app.
- Tap on the three dots in the top right corner of the screen.
- Tap on “Settings”.
- Scroll down and tap on “Site settings”.
- Tap on “Images”.
- Select “Don’t allow sites to show images”.
To enable image loading again, simply follow the steps above and select “Sites can show images”.
Please note that disabling image loading will improve page loading times and reduce data usage, but it will also make some web pages less visually appealing.
Alternatively, you can use an extension to disable image loading in the Chrome app. Here are two popular options:
- Image Blocker: This extension allows you to disable or enable images on a web page with a single click.
- uBlock Origin: This powerful ad blocker extension can also be used to block images.
To use an extension to disable image loading in the Chrome app, follow these steps:
- Open the Chrome Web Store.
- Search for the extension you want to use.
- Tap on the “Add to Chrome” button.
- Tap on the “Add extension” button to confirm.
- Once the extension is installed, tap on the extension icon in the toolbar.
- Select the options you want to enable.
To disable the extension, simply tap on the extension icon in the toolbar and select the “Disable” option.
With images disabled, pages will load primarily text-only versions using only minimal data. Turn images back on selectively as needed.
Note: Disabling image loading in the Chrome app may not work with all websites.
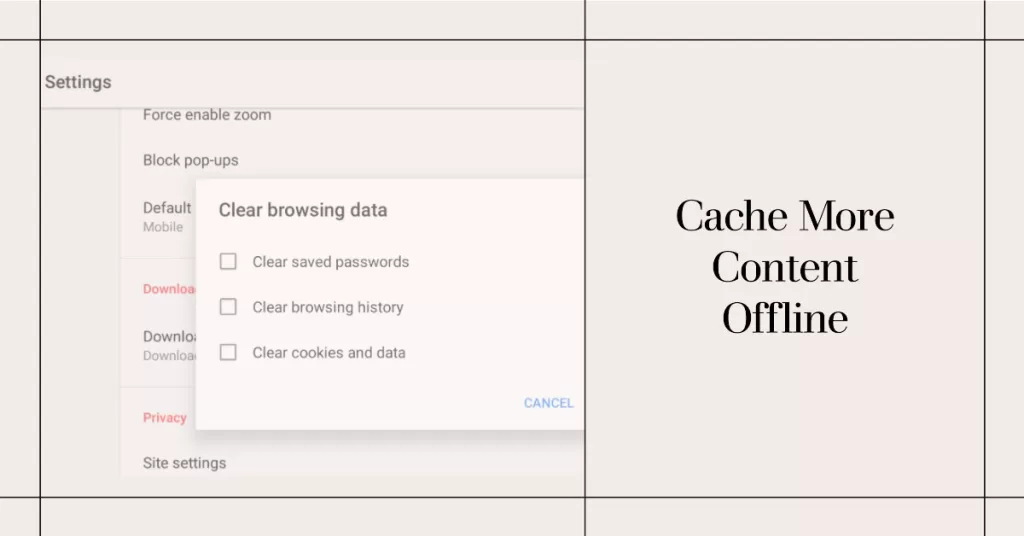
Step 5: Cache More Content Offline
Configure Chrome to store more cached data offline by increasing the cache limit. More cached data reduces the need to re-download repeating content, minimizing data requests. Just remember to periodically clear the cache.
To increase the cache limit in Chrome, you can use the following methods:
a. Use a command-line argument
To increase the cache limit in Chrome using a command-line argument, follow these steps:
- Right-click on the Chrome shortcut and select “Properties”.
- Click on the “Shortcut” tab.
- In the “Target” field, add the following command-line argument to the end of the existing text:
--disk-cache-size=52428800
This will set the cache limit to 50 MB. You can change the value to any size you want. 4. Click “OK” to save your changes.
b. Use a Chrome extension
There are a number of Chrome extensions that can be used to increase the cache limit. One popular option is Cache Killer. To use Cache Killer, follow these steps:
- Open the Chrome Web Store and search for “Cache Killer”.
- Click on the “Add to Chrome” button.
- Click on the “Add extension” button to confirm.
- Once the extension is installed, click on the extension icon in the toolbar.
- Click on the “Settings” tab.
- Under “Cache Settings”, enter the desired cache limit in MB.
- Click “Save”.
Please note that increasing the cache limit can improve page loading times and reduce data usage, but it can also take up more space on your hard drive. It is important to find a balance between increasing the cache limit and maintaining good performance.
Step 6: Disable Background Syncing
Restrict background data usage by disabling syncing. This prevents non-essential background syncing of open tabs, history, extensions, bookmarks etc. Limit to manual periodic syncing to conserve data.
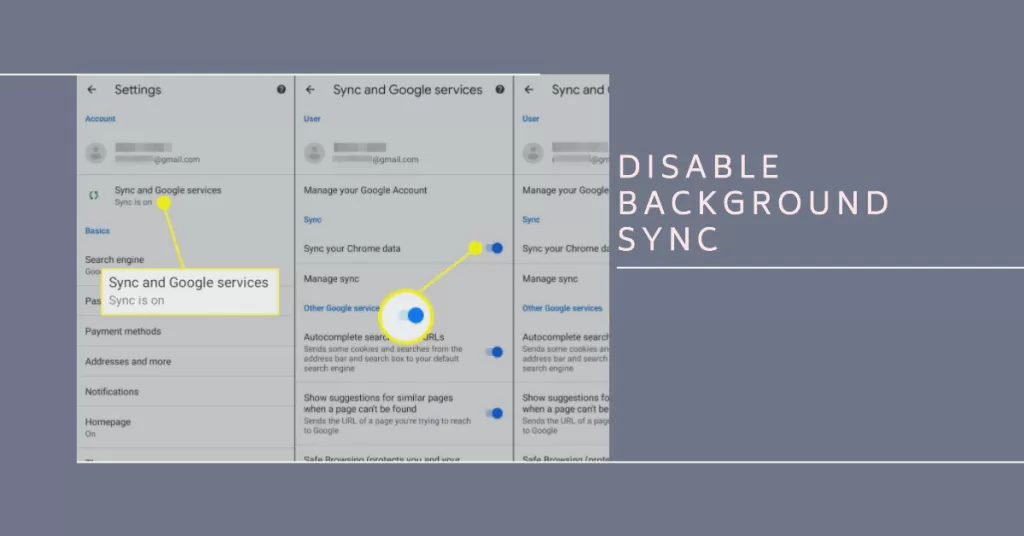
To disable background syncing in Chrome on Android, follow these steps:
- Open the Chrome app.
- Tap on the three dots in the top right corner of the screen.
- Tap on “Settings”.
- Scroll down and tap on “Sync and Google services”.
- Toggle off the “Sync everything” switch.
To disable background syncing in Chrome on iOS, follow these steps:
- Open the Chrome app.
- Tap on the three dots in the top right corner of the screen.
- Tap on “Settings”.
- Scroll down and tap on “Sync”.
- Toggle off the “Sync everything” switch.
Disabling background syncing will prevent Chrome from automatically syncing your data in the background. This can save battery life and reduce data usage, but it will also mean that you have to manually sync your data whenever you want to update it.
To manually sync your data in Chrome, follow these steps:
- Open the Chrome app.
- Tap on the three dots in the top right corner of the screen.
- Tap on “Settings”.
- Scroll down and tap on “Sync and Google services”.
- Tap on the “Sync now” button.
You can also manually sync your data for individual apps by going to the “Sync” settings for that app and tapping on the “Sync now” button.
Please note that disabling background syncing may not work with all websites and features. For example, some websites may not be able to load properly if background syncing is disabled.
With a few simple adjustments to enable Data Saver, reduce tabs, turn off images, expand caching, and limit background syncing, you can significantly reduce the mobile data and bandwidth the Chrome app consumes during daily use. Monitor usage carefully and tweak settings as needed.