Are you facing the dreaded situation of a broken iPhone screen? It’s not only frustrating but also hinders the functionality of your beloved device. But don’t worry, you have options to get it fixed or replaced. In this article, we’ll explore various avenues for repair, from official Apple services to do-it-yourself methods. So, how can you restore your iPhone to its former glory?
Key Takeaways:
- Accidental damage to your iPhone screen is not covered by the Apple warranty.
- Apple provides repair options through Authorized Service Providers, Apple Stores, mail-in repair, and support advisors.
- AppleCare+ coverage may include screen repair, but accidental damage may require a service fee.
- DIY screen repair involves precise disassembly and reassembly of your iPhone.
- If DIY repair seems daunting, consider seeking professional help from authorized repair centers.
Apple Repair Options
If you have a broken iPhone screen, don’t worry – Apple offers several options for getting it repaired. Whether you prefer to visit an Apple Authorized Service Provider or an Apple Store, or if you’d rather opt for mail-in repair or reaching out to an Apple Support Advisor, there’s a solution that suits your needs.
If you choose to visit an Apple Authorized Service Provider or Apple Store, you’ll have the convenience of having your repair done in person. You can make an appointment at the nearest location and have a trained technician take care of your broken screen.
Alternatively, if you don’t have an authorized service provider nearby or prefer not to leave your home, you can opt for mail-in repair. With this option, you’ll arrange to send your iPhone directly to Apple, and they’ll handle the repair process for you.
If you’re not sure which option is the best for you, you can always talk to an Apple Support Advisor. They can guide you through the process and help you choose the right approach to fix your screen.
When it comes to the cost of iPhone service, it’s important to note that the fees may vary depending on the service provider you choose. Thus, it’s recommended to use Apple’s handy “Get an Estimate” tool on their website. This tool allows you to review potential costs for screen repair and other services, ensuring you have a clear understanding of the expenses involved.
Remember, Apple prioritizes providing customers with the highest quality service and repair. So, whether you choose an Apple Authorized Service Provider, visit an Apple Store, opt for mail-in repair, or consult with an Apple Support Advisor, you can be confident that your broken iPhone screen will be in good hands.
| Apple Repair Options | Advantages |
|---|---|
| Apple Authorized Service Provider / Apple Store |
|
| Mail-in Repair |
|
| Apple Support Advisor |
|
AppleCare+ Coverage
If you have AppleCare+ coverage, you can take advantage of the benefits it offers, including screen repair coverage for your iPhone. However, it’s important to note that accidental damage is not covered by the standard Apple warranty.
AppleCare+ provides an extended warranty for your iPhone, which includes battery service coverage and protection against accidental damage from handling. This means that if your iPhone screen gets accidentally damaged, you may be eligible for coverage.
Each incident of accidental damage is subject to a service fee, which you would need to pay when getting your screen repaired. The specific fee amount may vary depending on the type of damage and your iPhone model.
To determine if your situation is covered, you should check your coverage status. You can easily do this by visiting the Apple website and entering your device’s serial number or signing in to your Apple ID account. This will provide you with information on the coverage details for your iPhone, including the screen repair coverage.
It’s important to understand that the Apple Limited Warranty, which covers your iPhone and Apple-branded accessories for one year from the date of purchase, may not include coverage for all types of damage. It is recommended to review the terms and conditions of your warranty and AppleCare+ coverage for a comprehensive understanding of what is covered and what is not.
AppleCare+ Coverage Summary:
| Coverage | Status |
|---|---|
| Screen Repair Coverage | Eligible (for accidental damage) |
| Accidental Damage | Subject to service fee |
| Apple Limited Warranty | One year from purchase (coverage may not include all types of damage) |
Do-It-Yourself Screen Repair
If you’re comfortable doing it yourself, you can attempt to repair your broken iPhone screen. The process involves several steps to ensure a successful repair. Follow these instructions to remove screws, cover the screen, apply heat, use a suction cup, lift the screen, and remove the connector shield.
- Remove screws: Begin by locating the screws at the base of your iPhone. Use a suitable screwdriver to carefully remove them.
- Cover screen: If your screen is severely damaged, it’s a good idea to cover it with packaging tape to prevent further damage during the repair process.
- Apply heat: Use a hairdryer or heat gun to warm up the adhesive holding the screen in place. Be cautious not to overheat the phone.
- Use suction cup: Once the adhesive is warm, place a suction cup on the screen. Gently apply pressure and lift the suction cup to pry the screen away from the body of the iPhone.
- Lift screen: Slowly and carefully lift the screen, keeping it at a slight angle to prevent damage to the connectors beneath.
- Remove connector shield: Locate the connector shield on the iPhone’s motherboard and carefully remove it.
- Release connectors: Disconnect the connectors that attach the screen to the phone. Take note of their positions for reassembly later.
Remember to follow the specific instructions for your iPhone model to ensure a successful repair. Below is an image illustrating the process:
Disassembling Your iPhone
Disassembling your iPhone to repair a broken screen requires precision and careful handling of delicate components. Follow the steps below to safely disassemble your iPhone:
- Using a pry tool, carefully slide it along the edges of the screen to slowly pry it up.
- Once the screen is lifted, you’ll need to remove the connector shield to expose the ribbon-like connectors that connect the screen to the bottom of the phone.
- Depending on your iPhone model, you may also need to remove additional metal plates to access the connectors.
- As you disassemble your iPhone, take note of the screws and metal plates you remove to make reassembly easier.
- When handling the home button and other components, be extremely cautious as they are delicate and can be easily damaged.
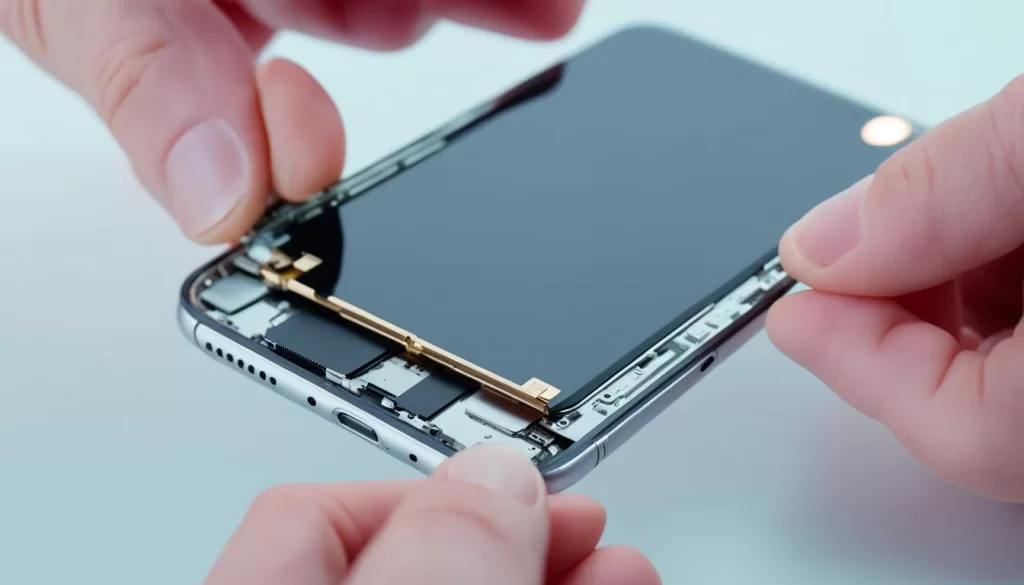
Step 1: Lift Up the Screen
Using a pry tool, position it along the edges of the screen and gently slide it to pry the screen up from the iPhone base. Apply consistent pressure along the edges to ensure even lifting of the screen.
Step 2: Remove the Connector Shield
Once the screen is lifted, locate the connector shield which covers the ribbon-like connectors on the iPhone. Carefully remove the shield to expose the connectors. Take note of the order and placement of the connectors for reassembly.
Step 3: Remove Additional Metal Plates (if applicable)
Depending on your specific iPhone model, there may be additional metal plates covering certain components. If necessary, use the appropriate tools to remove these plates and gain access to the connectors and other internal parts.
Step 4: Keep Track of Screws and Metal Plates
As you disassemble your iPhone, it’s important to keep track of the screws and metal plates you remove. This will make reassembly much easier and ensure that each component is properly secured.
Step 5: Handle Components with Care
Take extra caution when handling delicate components such as the home button and other internal parts. These components are sensitive and can be easily damaged if mishandled.
Reassembling Your iPhone
Once you have replaced the broken screen, it’s time to reassemble your iPhone. Follow these steps to ensure a successful reassembly:
- Install the bottom metal plate: Carefully align the metal plate with the screw holes on the bottom of your iPhone and secure it in place using the appropriate screws.
- Reattach the speaker and sensor assembly: Position the speaker and sensor assembly in its designated spot on the front of your iPhone.
- Secure the metal plates: Depending on your iPhone model, there may be additional metal plates that need to be attached. Align the plates and use the provided screws to secure them.
- Install the home button: Carefully position the home button in the designated area on the front of your iPhone. Ensure it is aligned correctly before proceeding.
Remember to be gentle while handling the components to avoid causing any damage. Now it’s time to secure everything in place.
Securing the Home Button and Finalizing the Reassembly
Now that you have positioned all the components, it’s time to secure them in place:
- Take the screws that were previously removed during disassembly and use them to secure the home button. Be cautious not to overtighten the screws, as it could potentially damage the components.
- Ensure that all the components are properly aligned and securely attached. Double-check that no screws are missing.
Congratulations! You have successfully reassembled your iPhone after replacing the broken screen. It’s now ready for use.
Pro Tips for DIY Repairs
When attempting a DIY repair for your broken iPhone screen, it’s important to keep in mind a few helpful tips to ensure a successful outcome.
- Adhesive: If the adhesive is keeping the screws in place, use the Y type screwdriver and continue unscrewing until they come out.
- Hairdryer: Be cautious when using a hairdryer to warm up the adhesive. Overheating can damage the LCD of your phone, so use low heat and keep a safe distance.
- LCD: Pay special attention to the LCD during the repair process, as it is a sensitive component. Avoid applying excessive force or pressure that may result in damage.
- Flex Cable: Take care not to damage the flex cables when detaching or reattaching the screen. Handle them gently and make sure they are properly aligned before securing them.
- Light Sensor Bracket: Preserve the integrity of the light sensor bracket during the repair. It plays a crucial role in ensuring the proper functioning of the phone’s ambient light sensor.
- Y Type Screwdriver: Make sure to use the correct tools, such as a Y type screwdriver, for disassembling and reassembling your iPhone. Using the right tools will help avoid unnecessary damage to delicate parts.
By following these pro tips, you can increase your chances of successfully repairing your broken iPhone screen on your own. Remember to proceed with caution and take your time to ensure a proper and safe repair.
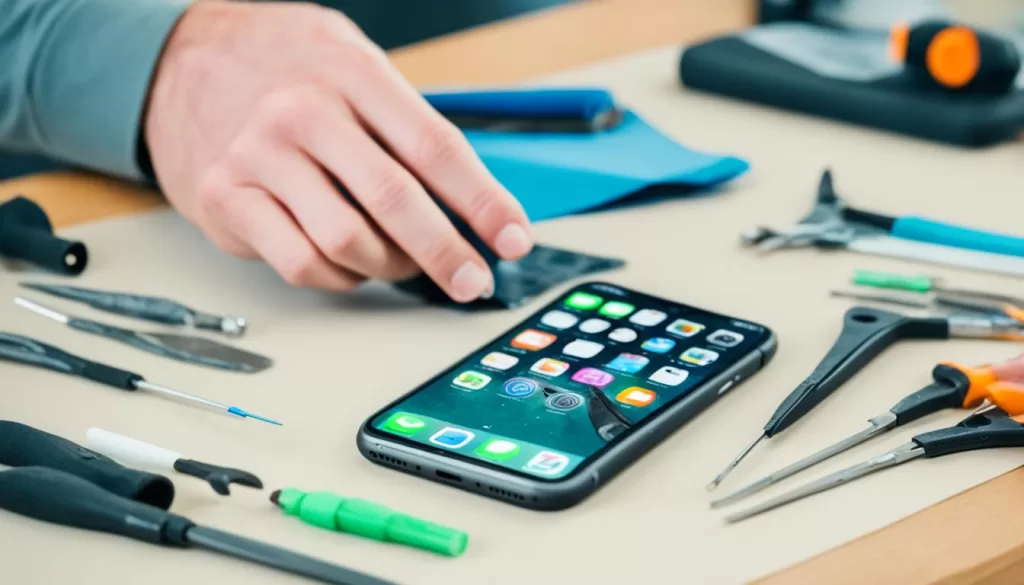
Note: The image above illustrates a person using a Y type screwdriver during a DIY iPhone repair.
Consider Professional Repair
If you’re not confident in your ability to repair your broken iPhone screen, it’s advisable to seek professional help. Apple Authorized Service Providers and Apple Stores offer expert repair services and can ensure that the repair is done correctly.
By choosing a professional repair service, you can have peace of mind knowing that your iPhone is in the hands of trained technicians who will use genuine Apple parts to restore your device to its original condition. These authorized repair centers have the knowledge and expertise to handle various types of iPhone repairs, including screen replacements.
Another advantage of professional repair is that it may be covered by warranty or come with a guarantee. This means that if any issues arise after the repair, you can often have them addressed without incurring additional costs. Additionally, by choosing an authorized repair center, you can maintain the warranty on your iPhone, which may be voided if you have an unauthorized repair performed.
When seeking professional repair, it’s important to choose a reputable service provider. Look for customer reviews and testimonials to ensure that you are entrusting your iPhone to a reliable and trustworthy company. By selecting a reputable service provider, you can have confidence that your iPhone will receive the high-quality repair it deserves.
