Troubleshooting iPhone 11 No Service Problems: A Comprehensive Approach
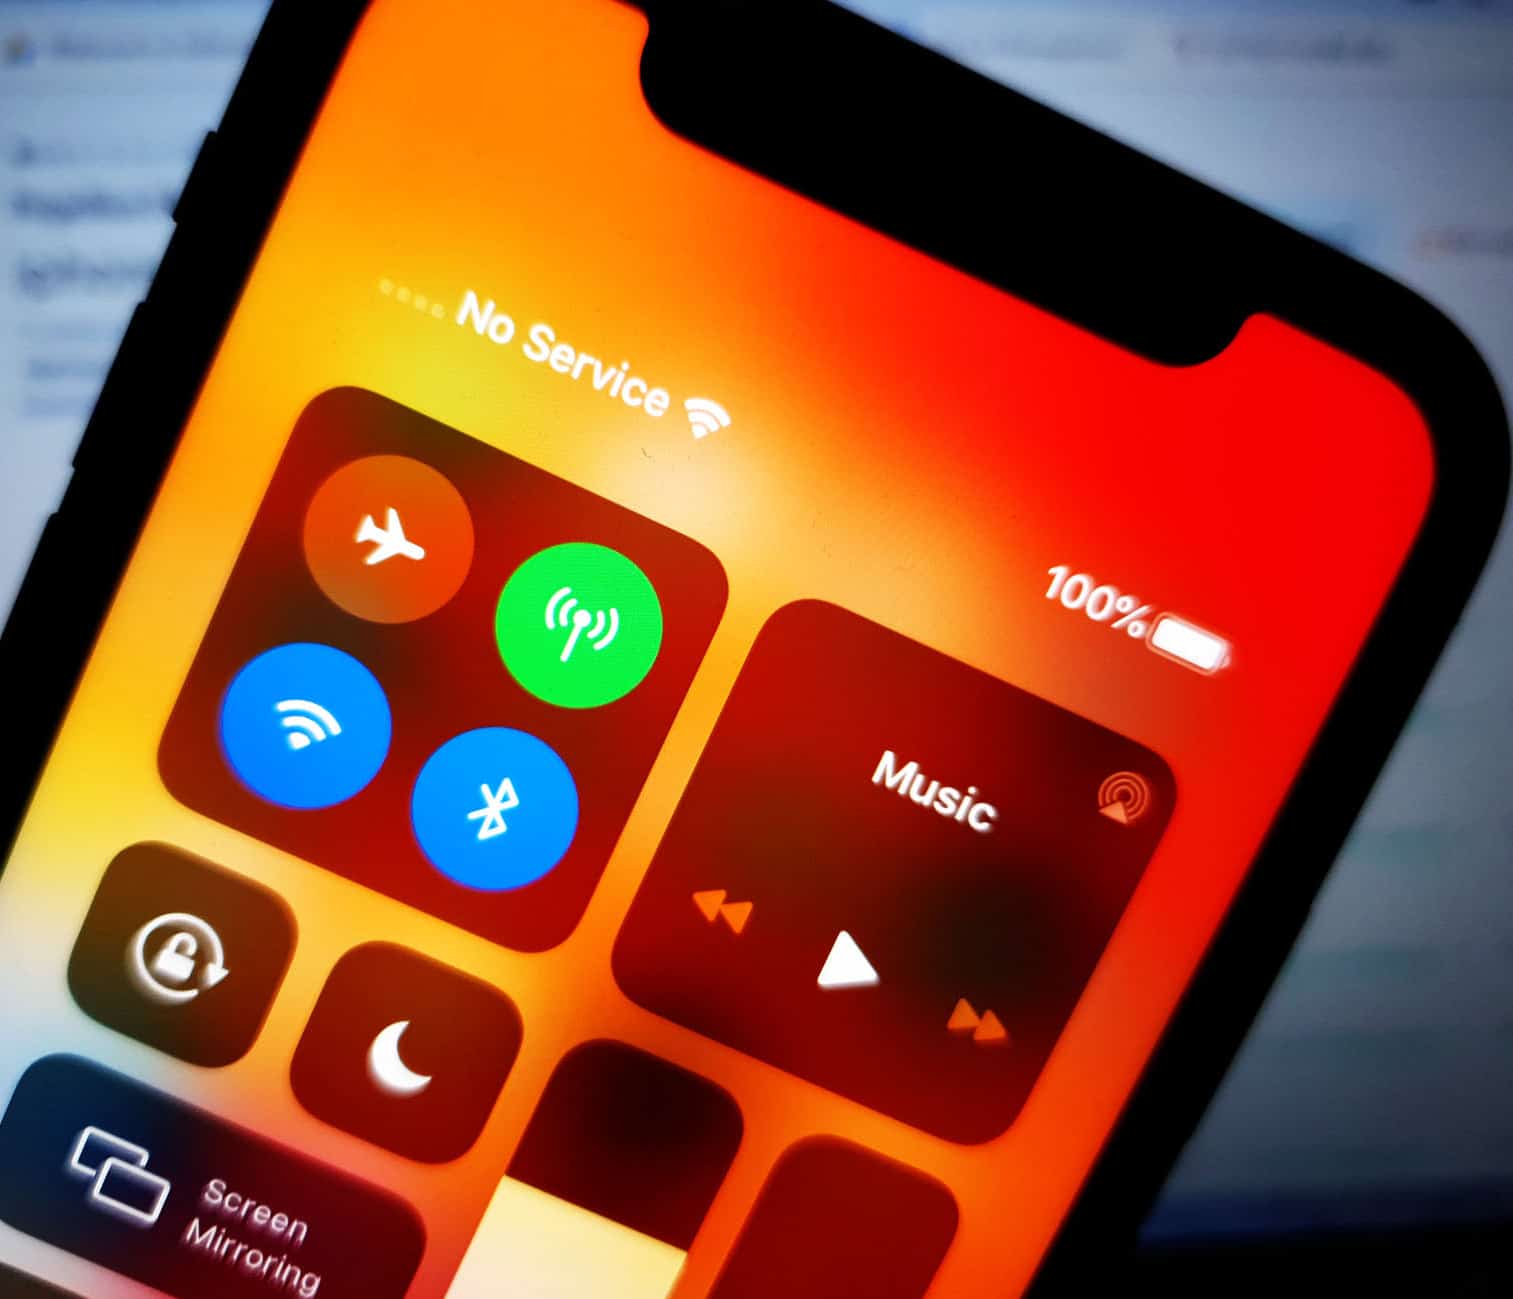
If you own an iPhone 11, you may have encountered a problem where your phone shows no service or searching for service in the status bar. This means that you can’t make or receive calls, send or receive texts, or use cellular data. How can you fix this annoying issue and restore your phone’s functionality?
Why Does My iPhone 11 Have No Service? Solutions and Explanations
In this article, we will explain the possible causes of the iPhone 11 no service problem, and the troubleshooting steps you can take to solve it. We will also give you some tips on how to prevent this problem from happening again in the future. By the end of this article, you will be able to enjoy your iPhone 11 without any service interruptions.
Possible causes of no service error on an iPhone
The “no service” problem on the iPhone 11 can be attributed to several factors. Here are some potential causes to consider
- Signal or network problems. When network problems arise, the signal might have been gone and thus all your iPhone shows is a no service instead of the signal indicator. This is usually the case if you’re already out of your cellular network coverage or simply in an area where a lot of signal barriers are present and thus the signal is weak.
- SIM card issues. A corrupted SIM card system as well as loose SIM card on the phone can also be the main reason as to why your iPhone is showing no service error.
- Software-related errors. When your iPhone’s network system is glitching and cellular services are adversely affected, there’s a higher chance that this error is triggered.
- Account problems. If your account services are temporarily disconnected due to some unsettled issues with your account. Carriers usually imposed a soft disconnect status in which outgoing services are temporarily disabled, especially when you missed to pay some bills.
- Hardware issues. The worst possible cause is hardware damage. The SIM card or other relevant components on your iPhone might have been damaged and are therefore unable to acquire cellular signal as intended.
Troubleshooting no service, no signal issues on your iPhone 11
The following procedures will help eliminate common software-related factors that can trigger no service and other relevant errors to occur on an iPhone. Try these before taking your iPhone to a service center.
Before troubleshooting, make sure that you are within your network’s coverage area. Also consider staying away from any possible signal interference or barrier like tall buildings or concrete walls. And lastly, your iPhone must not be in Airplane Mode.
First solution: Reboot your iPhone 11 (soft reset).

The simplest possible solution to random software errors including those affecting cellular network services is a soft reset or reboot on your iPhone. It’s a way of refreshing the phone’s system services and all applications. It doesn’t affect any saved data on the iPhone’s internal memory, so nothing will be deleted in the process. Just follow these steps:
- Press and hold the Side/Power button and either of the Volume button at the side of your phone for a few seconds.
- When the Slide to Power Off appears on your screen, release both buttons.
- Drag the power off slider to the right to turn off the phone.
- Wait for about 30 seconds then press and hold the Side/Power button until you see the Apple logo.
Give your iPhone enough time to finish its reboot sequence and then re-establish network signals.
Second solution: Toggle Airplane Mode on and off.
Another possible solution you can try to deal with problems affecting wireless services is the so-called Airplane Mode trick. It’s an old tweak that’s been proven to work wonders in resolving different types of wireless problems on an iPhone. If you wish to give it a shot, just refer to these steps:
- From the Home screen, tap Settings.
- Select Airplane Mode.
- Toggle the switch next to Airplane Mode to turn on. Doing so simultaneously disables the wireless radios and relevant features of your iPhone.
- While Airplane mode is turned on, restart or soft reset your iPhone to dump cache.
- After your phone reboots, go back to Settings-> Airplane Mode menu.
- Then toggle the Airplane Mode switch to turn the feature OFF again.
Wait for your iPhone to re-establish wireless signals and see if the no service error is gone.
Third solution: Update carrier settings, if possible.

Carrier updates may also contain the required network fix and thus, updating carrier settings on your iPhone 11 is also recommended. Some carrier updates require manual installation, thus it’s imperative to check your device first.
If your iPhone doesn’t have any trouble connecting to the internet and the internet connection is stable, follow these steps to check and install any available carrier settings update:
- From the Home screen, tap Settings.
- Select General.
- Tap About.
- Scroll down to the Carrier section and see if there’s a pending update.
If there is you will see a notification with the given instructions. Just follow the onscreen prompts to implement the carrier settings update on your iPhone.
Alternatively, you can use iTunes to manually update carrier settings on your iPhone. Here’s how it’s done:
- Connect your iPhone to the computer then open iTunes.
- Wait for your device to sync and backup files.
- Then, click on your iPhone’s icon in the left pane.
- Navigate to the Summary section then long-press the Shift key on the keyboard.
- Click the option to Check for Update.
- Next, change the file type to iPhone/iPad Carrier Configuration File (*.ipcc).
- Select the desired file and wait for the entire process to complete.
Once everything is finished, disconnect your iPhone from the computer and then reboot it.
Fourth solution: Reset network settings on your iPhone 11.
Some network errors are triggered by incorrect settings or invalid network customization on the phone. To clear this out, you can use the command to reset network settings on your iPhone. Doing so will erase all your current network settings and preferences then restores the default network values and options on the phone. There’s no need to back up files beforehand because this reset doesn’t affect any information saved on your iPhone’s storage. Just refer to these steps:
- From the Home screen, tap Settings.
- Select General.
- Scroll down to and tap Reset.
- Select the option to Reset network settings.
- Enter your passcode if prompted to continue.
- Then tap Reset network settings again to confirm that you want to reset your iPhone’s network settings to defaults.
Your iPhone will restart on its own when the reset is complete and then loads up the default network values. To use network features that are disabled by default, you will need to re-enable them individually.
Fifth solution: Reinstall the SIM card on your iPhone 11.
A faulty SIM card may be the underlying cause of the problem and therefore you have to work on that too. No service and other relevant errors can be triggered when the SIM card system gets corrupted. The same thing can happen if the SIM card is loose or dislodged from the tray. Thus, reinstalling the SIM card is the next suggested workaround you should try. Just follow these steps:
- Turn off your iPhone completely. This is highly recommended to prevent damaging the SIM card components or the device itself.
- While your iPhone powered off, gently insert the SIM ejector tool into the small hole on the SIM card tray found on the side of your iPhone. If you don’t have the ejector, you can use a small paper clip instead.
- Slowly push the ejector tool until the tray ejects.
- Remove the SIM card from the tray and check for any possible signs of damage like scratches or dents.
- If everything looks good, insert the SIM card back into the tray in the same orientation before your took it out.
- Push the SIM tray back into the phone until it locks.
You can turn the phone back on when the SIM tray is locked and secured in place.
Last resort: Restore factory default settings on your iPhone 11 (factory reset).

To deal with stubborn errors, performing more advanced procedures like a factory reset is often needed. A full system reset is usually what your iPhone needs if complex system errors are present and ruining the phone’s cellular functions. Just don’t forget to back up all files beforehand because this reset will wipe everything from your iPhone including personal information saved on the internal memory. Once you have secured the backup, you can proceed with these steps to factory reset your iPhone 11 through settings:
- From the Home screen, tap Settings.
- Select General.
- Scroll down to and tap Reset.
- Select the option to Erase all content and settings.
- Enter your device’s passcode if prompted to continue.
- Tap the option to confirm factory reset on your iPhone 11.
You can also use iTunes to manually erase and restore your iPhone on a computer either through recovery mode or DFU mode. This is often needed when dealing with issues attributed to fatal system errors.
Is your iPhone 11 still showing no service?
If the no service error still shows up even after performing a factory reset, contact your carrier or network service provider for further assistance. There might be some problem in the network base or your account that’s affecting cellular services and thus your iPhone 11 lost cellular network signal and prompts a no service error instead.
You can also ask your carrier to further assess your SIM card if you think the SIM card is to blame. And if necessary, you can directly ask your carrier for a new SIM card replacement.
For no service error that instigated from an iOS update and persisted after troubleshooting, escalating the problem to Apple Support is necessary. This could be another iOS bug that requires a dedicated fix patch.