
How to Fix Garmin Venu 2 Won’t Turn On Issue
Are you facing the frustrating problem of your Garmin Venu 2 not turning on? Don’t worry, you’re not alone. Many users have encountered this issue and struggled to find a solution. But fear not, we are here to help you troubleshoot and resolve this problem in no time.
In this article, we will provide you with step-by-step instructions to fix the Garmin Venu 2 won’t turn on issue. Whether your watch is completely unresponsive or simply not powering on properly, we’ve got you covered. By following our troubleshooting tips, you’ll be able to get your Garmin Venu 2 up and running again, ensuring that you don’t miss out on any of its amazing features and functionalities.
Key Takeaways:
- Step-by-step troubleshooting tips for fixing Garmin Venu 2 not turning on
- Solutions for common power-related issues, such as unresponsive screens and black screens
- Troubleshooting steps for syncing, notification, heart rate tracking, GPS, and barometer issues
- Importance of software updates and device maintenance
- Consideration of contacting Garmin support for hardware-related problems
Troubleshooting Garmin Venu 2 Power Issues
If you’re experiencing power-related problems with your Garmin Venu 2 smartwatch, such as the watch not starting up, the screen not lighting up, the watch being unresponsive, or the screen appearing black, don’t worry. This section will guide you through troubleshooting steps to get your Garmin Venu 2 back up and running.
Perform a Hard Reset
If your Garmin Venu 2 is unresponsive or the screen won’t light up, performing a hard reset can often resolve the issue. To do this, press and hold the power button for about 15 seconds until the device turns off and then release the button. Press the power button once more to turn your watch back on and check if the problem is resolved.
Check the Charging Cable and Points
Make sure to inspect the charging cable and charging points on your Garmin Venu 2 for any dirt or damage. If there’s any debris or residue, gently clean them with a soft, dry cloth. Ensure that the charging cable is securely connected to both the watch and the power source.
Update the Software
Keeping your Garmin Venu 2’s software up to date is essential for optimal performance. Connect your watch to a stable Wi-Fi connection and navigate to the device settings. From there, select “System” and then “Software Update” to check for any available updates. If an update is available, follow the on-screen instructions to install it.
If none of the above troubleshooting steps resolve the issue, there may be a deeper technical problem with your Garmin Venu 2. In that case, it’s recommended to contact Garmin’s customer support for further assistance. They have the expertise to help you identify and resolve more complex power-related issues with your smartwatch.
Troubleshooting Garmin Venu 2 Syncing Issues
Are you experiencing syncing problems between your Garmin Venu 2 smartwatch and your smartphone? Don’t worry, we’ve got you covered. In this section, we’ll walk you through some troubleshooting steps to help you resolve syncing issues and get your devices connected smoothly.
If your Garmin Venu 2 won’t sync with your phone, there are a few things you can try:
- Make sure you have the Garmin Connect app installed on your smartphone. This app is essential for syncing data between the watch and your phone.
- Check if Bluetooth is activated on both your Garmin Venu 2 and your phone. A stable Bluetooth connection is necessary for syncing.
- If you’re still experiencing issues, try power cycling both your smartphone and your Garmin Venu 2. Simply turn off both devices, wait for a few seconds, and then turn them back on.
- If the problem persists, try reinstalling the Garmin Connect app on your smartphone. Sometimes, a fresh installation can resolve any glitches or compatibility issues.
- Make sure your Garmin Venu 2 is running on the latest software version. Check for any available updates in the device settings and install them if necessary.
If you’ve followed these troubleshooting steps and your Garmin Venu 2 is still not syncing with your phone, it’s recommended to reach out to Garmin support for further assistance. They can provide specific guidance tailored to your situation.
Keep in mind that troubleshooting syncing issues can sometimes be complex, but these steps should help you resolve the problem in most cases. Next, we’ll tackle another common issue: notification problems on the Garmin Venu 2.
Troubleshooting Garmin Venu 2 Notification Issues
Some users have reported experiencing issues with receiving notifications on their Garmin Venu 2 smartwatches. If you’re facing this problem, don’t worry. Follow the troubleshooting steps below to fix notification issues and ensure you never miss an important alert again.
First, check the Bluetooth settings on your phone and Garmin Connect app. Make sure Bluetooth is enabled and properly connected to your smartwatch. A stable connection is essential for receiving notifications.
Next, verify your notification access settings on both your phone and Garmin Connect app. Ensure that the necessary permissions are granted for the apps you want to receive notifications from. Without the correct permissions, your Garmin Venu 2 may not receive notifications properly.
Another potential issue could be the Do Not Disturb setting on your watch. Double-check that Do Not Disturb is turned off to allow notifications to come through.
Additionally, it’s worth checking the Sleep Time settings on your Garmin Venu 2. If Sleep Time is enabled during specific hours, notifications may be blocked during that time. Adjust the Sleep Time settings if necessary.
If you’ve followed all of these troubleshooting steps and are still experiencing notification issues, try rebooting both your phone and smartwatch. Sometimes a simple restart can resolve any temporary glitches that may be affecting notification delivery.
By going through these troubleshooting steps, you should be able to resolve most notification issues on your Garmin Venu 2. If the problem persists, it may be worth contacting Garmin support for further assistance.
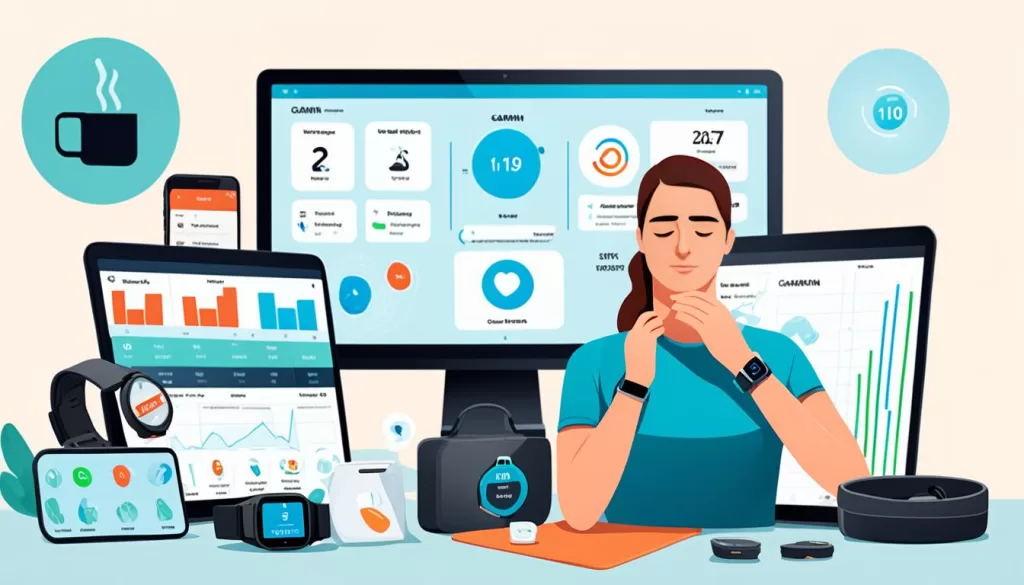
Troubleshooting Garmin Venu 2 Heart Rate Tracking Issues
Are you experiencing heart rate tracking issues with your Garmin Venu 2? Don’t worry, you’re not alone. In this section, we’ll provide you with some practical solutions to address these problems and get accurate heart rate measurements.
One common issue users encounter is when the heart rate recorded by their Garmin Venu 2 is not accurate. To resolve this, start by adjusting the watch’s fit. Ensure that it is snugly secured to your wrist but not too tight, as an improper fit can affect the accuracy of the sensors.
Additionally, make sure the sensors on the back of the watch are clean and free from any dirt or debris. This can impact the reading and result in inaccurate measurements. Use a soft cloth to gently wipe the sensors to ensure optimal contact with your skin.
Updating your device’s software can also help address heart rate tracking issues. Garmin regularly releases firmware updates that include bug fixes and performance improvements. Check for any available updates through the Garmin Connect app or Garmin’s official website and install them if necessary.
If you’re still experiencing difficulties with heart rate tracking, consider using a heart rate strap. While the Garmin Venu 2 has built-in optical heart rate sensors, a heart rate strap can provide a more accurate reading, especially during intense workouts or activities. The strap ensures a continuous and reliable heart rate signal, even in challenging conditions.
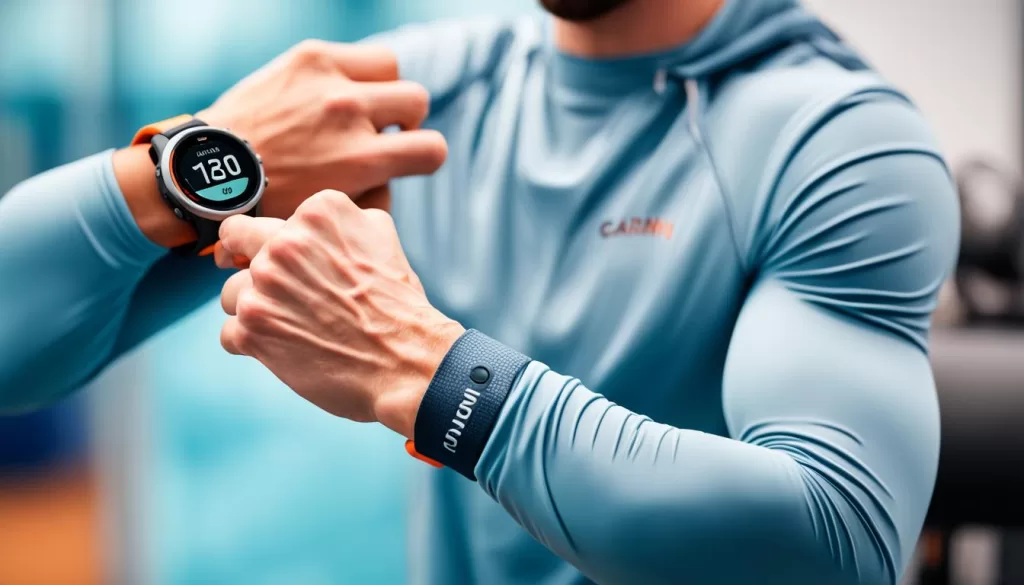
Troubleshooting Garmin Venu 2 GPS Issues
Are you experiencing GPS connectivity issues with your Garmin Venu 2? Don’t worry, we’ve got you covered. Follow these troubleshooting tips to resolve common GPS problems and get back on track.
First, make sure to sync your device. Sometimes, a simple sync can help resolve GPS issues. Connect your Garmin Venu 2 to your smartphone using the Garmin Connect app and ensure that the data is up to date.
Next, consider your starting location. To acquire a GPS signal accurately, it’s best to start your activity in an open area with a clear view of the sky. Avoid starting indoors or near tall buildings that may obstruct the signal.
Checking the software on your device is essential. Ensure that your Garmin Venu 2 is running on the latest software version. You can do this by navigating to the settings menu on your watch and checking for any available updates.
Lastly, don’t forget to verify your positioning systems settings. Your device may be set to use multiple GPS systems, such as GPS, GLONASS, or GALILEO. Adjusting these settings can improve signal acquisition and accuracy.
Garmin Venu 2 GPS issues troubleshooting checklist:
- Sync your device with Garmin Connect
- Start your activity in an open area
- Check for software updates on your Garmin Venu 2
- Adjust the positioning systems settings
By going through these troubleshooting steps, you’ll be able to address common GPS issues with your Garmin Venu 2. Remember to always ensure your watch’s software is up to date and that you have a clear view of the sky to acquire a GPS signal effectively.
Troubleshooting Garmin Venu 2 Barometer and Altimeter Issues
If you’re experiencing problems with the barometer and altimeter functions on your Garmin Venu 2, such as incorrect altitude readings, there are a few troubleshooting steps you can try.
First, try recalibrating the watch. Go to the altimeter widget, tap on the three dots, and select “Calibrate Altimeter.” Follow the on-screen instructions to calibrate the barometer and altimeter based on the known altitude reference points.
Make sure that the auto-calibration feature is turned on. Go to the watch settings, select “Sensors & Accessories,” and ensure that the “Auto Calibrate” option is enabled. This allows the Venu 2 to automatically adjust the barometer and altimeter readings based on GPS data.
If the issue persists, try cleaning the sensor port. Dust, dirt, or debris on the sensor port can interfere with accurate readings. Gently wipe the sensor port with a soft, lint-free cloth to remove any foreign particles.
If none of these troubleshooting steps resolve the issue, it may be a hardware-related problem. In that case, it’s best to contact Garmin’s customer support for further assistance and potentially arrange for a repair or replacement.