
How to Fix Garmin Venu 2 Not Charging Issue
Are you facing charging issues with your Garmin Venu 2 watch? It can be frustrating when your device doesn’t charge properly, leaving you disconnected from your fitness and health tracking. But before you panic, there are troubleshooting steps you can take to fix the problem and get your Garmin Venu 2 back up and running.
In this article, we will guide you through the common issues that may be causing your Garmin Venu 2 not to charge, and provide step-by-step solutions to help you resolve the problem. From cleaning the charging contacts to checking for loose connections, we’ve got you covered. So, let’s dive in and find out how to fix the charging issue with your Garmin Venu 2!
Key Takeaways:
- Cleaning the battery contacts on your Garmin Venu 2 watch and the charging cable can improve the charging connection.
- Check for loose or improper connections between the charging cable and the watch.
- If your power source is insufficient, consider using the original charger or a high-quality USB wall adapter.
- Adjust your watch’s settings to minimize battery drain and regularly charge your watch to maintain its battery level.
- If the charger dock’s connectors are tarnished, cleaning them can improve the charging functionality.
Cleaning the Battery Contacts and Charging Cable
To ensure a good connection for charging your Garmin Venu 2 watch, it’s essential to clean the battery contacts on both the watch and the charging cable. Over time, dirt, sweat, and residue can accumulate on these contacts, interfering with the charging process. By cleaning them regularly, you can maintain a reliable and efficient charging experience.
There are a few methods you can use to clean the battery contacts. One option is to use rubbing alcohol, which is effective in removing dirt and oils. Dampen a cotton swab or cloth with rubbing alcohol and gently wipe the contacts, both on the back of the watch and the charging cable.
Another option is to use electronic screen wipes, which are designed to clean delicate surfaces without causing damage. These wipes are pre-moistened with a cleaning solution that effectively removes fingerprints, dirt, and grime. Simply take a screen wipe and gently clean the battery contacts on the watch and the charging cable.
If you don’t have rubbing alcohol or electronic screen wipes on hand, a pencil eraser can also be used to clean the contacts. Take a clean pencil eraser and gently rub it over the contacts, applying light pressure. The eraser will help remove any dirt or residue that may be causing a poor connection.
Remember to clean both the watch and the charging cable thoroughly, ensuring that all the contacts are free from any debris. Once you’ve cleaned the contacts, try charging your Garmin Venu 2 watch again to see if the issue has been resolved.
Cleaning the battery contacts and charging cable is an important step in troubleshooting charging issues with your Garmin Venu 2. By maintaining clean and clear contacts, you can ensure a seamless charging experience and avoid any unnecessary frustrations.
Checking for Loose or Improper Connection
Sometimes, the charging issue with your Garmin Venu 2 watch can be caused by a loose or improper connection between the charging cable and the watch. To troubleshoot this problem, follow these steps:
Step 1: Inspect for Physical Damage or Obstructions
Check both the charging cable and the watch for any physical damage or obstructions that may be affecting the charging connection. Look for dust, dirt, or sweat that could be interfering with the charging process.
Step 2: Properly Align the Charging Cable
Ensure that the charging cable is aligned properly with the charging port on your Garmin Venu 2 watch. Make sure it is securely inserted into the port to establish a stable connection.
Step 3: Try Using a Different Charging Cable
If the issue persists, try using a different charging cable to see if that resolves the problem. Sometimes, the original charging cable may be faulty or damaged, causing a poor connection.
If you continue to experience difficulties with the charging connection on your Garmin Venu 2 watch, it is recommended to reach out to Garmin support for further assistance.
Troubleshooting Insufficient Power Output
In some cases, you may encounter insufficient power output when charging your Garmin Venu 2 watch. This issue can occur when the power source you’re using does not provide enough electrical current to effectively charge the device.
For instance, USB ports or low-power adapters may not deliver sufficient power to charge your Garmin Venu 2. To address this problem, it is recommended to use the original charger that came with the watch, as it is specifically designed to provide the necessary power output.
If you do not have access to the original charger or are looking for an alternative solution, investing in a high-quality USB wall adapter can also resolve the insufficient power output. These adapters are built to deliver the required power for efficient charging.
By ensuring that your Garmin Venu 2 receives the appropriate power output, you can successfully charge your device and avoid any charging-related issues.
Dealing with Battery Drain Issues
If your Garmin Venu 2 watch has completely drained its battery, it may not turn on or charge immediately. To prevent this issue, adjust your watch’s settings to minimize battery usage. Make sure to regularly charge your watch to maintain its battery level. If the battery drain issue persists, try performing a soft reset by connecting the device to a computer and pressing and holding the power button. Updating the watch’s software through Garmin Express may also help resolve battery drain problems.
To adjust the settings, go to the “Battery” section in the watch’s menu and reduce the brightness, turn off unnecessary notifications, and disable features that consume excessive power. By optimizing your watch’s settings, you can extend its battery life and reduce the chances of encountering battery drain issues.
Regularly charging your watch is crucial for maintaining its battery level. Make it a habit to charge your Garmin Venu 2 overnight or during a time when you typically don’t use it. This will ensure that your watch has enough power to last throughout the day.
If your watch’s battery drain problem persists, you can try performing a soft reset to troubleshoot the issue. To do this, connect your watch to a computer using the original charging cable, then press and hold the power button for about 15-20 seconds until the device restarts. This can help resolve any temporary software glitches that might be causing excessive battery drain.
Updating the watch’s software through Garmin Express is another troubleshooting step you can take. Connect your watch to a computer, open Garmin Express, and check for any available software updates. Updating the watch to the latest software version can often fix bugs or issues related to battery drain.
If none of these steps resolve the battery drain problem, it’s recommended to seek further assistance from Garmin support. They can provide more specific guidance based on your watch’s unique situation.

Cleaning the Charger Dock
Over time, the male connectors for the Garmin Venu 2 charger dock may tarnish, resulting in charging issues for your watch. To ensure proper charging functionality, it’s important to clean the charger dock and remove any tarnish.
An effective solution, shared on Garmin forums, involves gently scrubbing the connectors with a sharp knife or metallic kitchen sponge. This process helps eliminate the tarnish and improves the contact between the charger dock and the watch.
This straightforward cleaning method can significantly enhance the charging performance of your Garmin Venu 2. By maintaining clean and efficient charging connections, you can continue enjoying the full functionality of your watch without any charging interruptions.
To visually guide you, here’s an image showing the proper way to clean the charger dock:
With just a few simple steps, you can successfully clean the charger dock and ensure a reliable charging experience for your Garmin Venu 2.
Checking for Defective Charging Cables or Charger
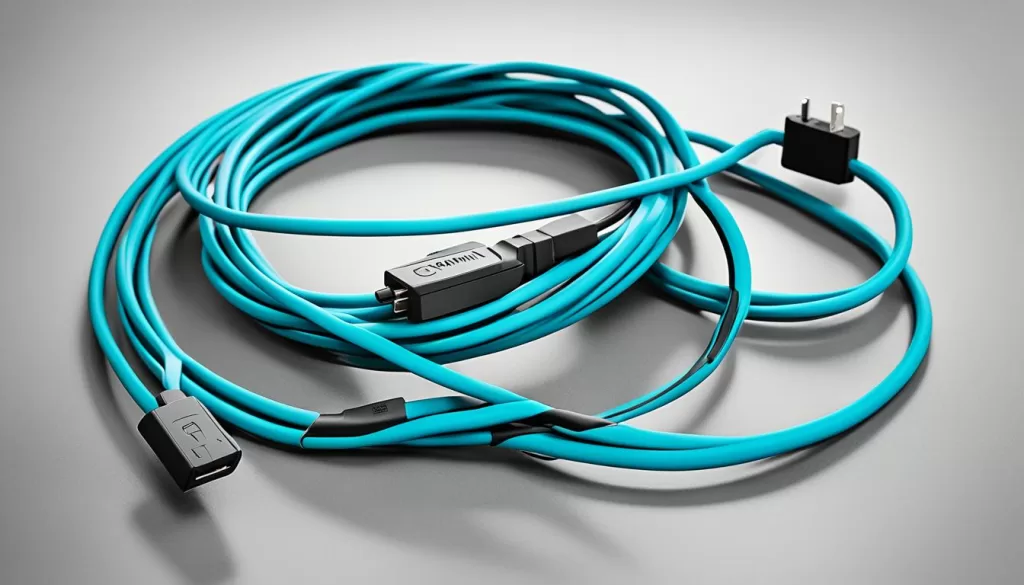
If your Garmin Venu 2 watch is constantly connecting and disconnecting from the charger, it could be due to defective charging cables or a faulty charger. Over time, charging cables can wear and tear, leading to various charging issues. To determine if this is the case, inspect the cable for signs of damage or wear. Look for frayed wires, bent connectors, or loose connections.
If you notice any visible damage, it’s recommended to replace the charging cable or charger to ensure a reliable and consistent charging experience for your Garmin Venu 2. You can purchase genuine and compatible accessories, including charging cables and chargers, directly from Garmin’s official website or authorized retailers.
By using a new or replacement charger and cable, you can eliminate the possibility of a faulty charging setup and ensure that your Garmin Venu 2 charges properly and without interruptions. It’s important to choose high-quality accessories to maintain the longevity of your watch and prevent any potential damage.
Preventive Measures for Maintaining Battery and Troubleshooting Further
To ensure smooth charging and avoid any issues with your Garmin Venu 2 watch, it’s crucial to follow preventive measures for battery maintenance. By handling and storing the watch and charger correctly, you can prolong the lifespan of your battery and optimize its charging performance.
Firstly, protect your Garmin Venu 2 from extreme heat, excessive moisture, and physical stress. These factors can affect the battery’s performance and overall functionality. Keep your watch away from direct sunlight, saunas, and other high-temperature environments. Additionally, avoid exposing your watch to excessive humidity or moisture, as it can damage the internal components.
Regularly cleaning the charging contacts on both the watch and the charger is also important. Over time, dirt, sweat, or debris can accumulate on these contacts, hindering the charging process. Use a soft, lint-free cloth or a mild cleaning solution to clean the contacts gently. This simple maintenance step can ensure a reliable connection and efficient charging.
In addition to proper handling and maintenance, it’s essential to develop healthy charging habits. Avoid overcharging your Garmin Venu 2, as it can strain the battery and reduce its overall capacity. Once the watch is fully charged, disconnect it from the charger to prevent unnecessary stress on the battery. Similarly, try not to let the battery level drop too low before recharging, as repeated deep discharges can impact its longevity.
If you’ve followed these preventive measures and are still experiencing charging problems with your Garmin Venu 2, it’s recommended to consult Garmin’s warranty policy. Reach out to their customer support for further guidance and assistance in troubleshooting any persistent charging issues. Their knowledgeable team can provide specific recommendations tailored to your situation and help you get the most out of your Garmin Venu 2.